What is Inventor?
Inventor is an application by autodesk that lets you create objects online from scratch. Inventor is very helpful in converting sketches and designs on paper to an online version. Whatever you decide to build with Inventor can be easily 3-D printed, providing an excellent way to create a prototype or things of that nature. Inventor has many different tools for your use which enables you to make almost anything you can think of. In summary Inventor is a useful software that enables you to create 3-D objects online.
Sketches
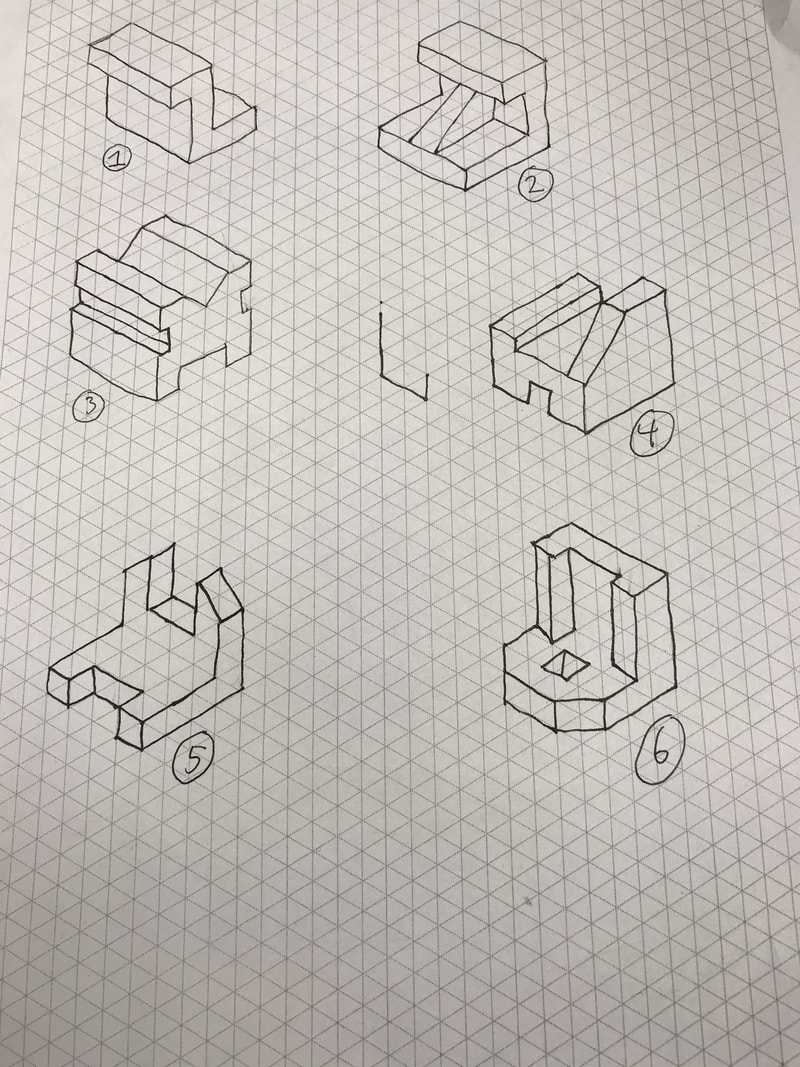
To use Inventor you first have to know what you are going to create with it. Sketches are a very useful tool to put your ideas down on paper, and to be able to see what you will make on Inventor.
How I created my widget
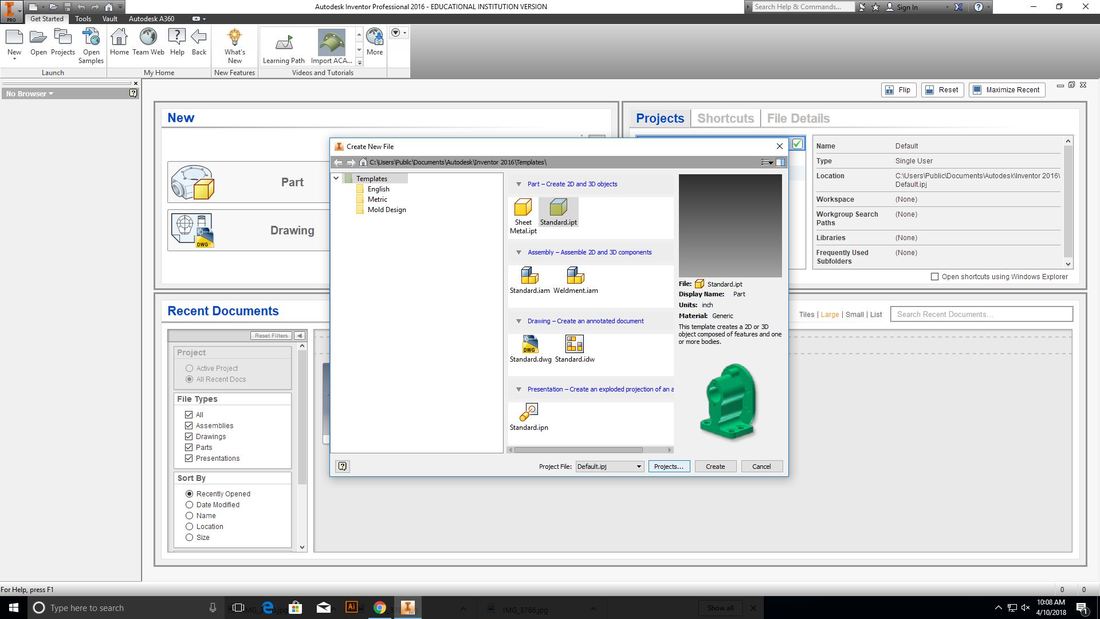
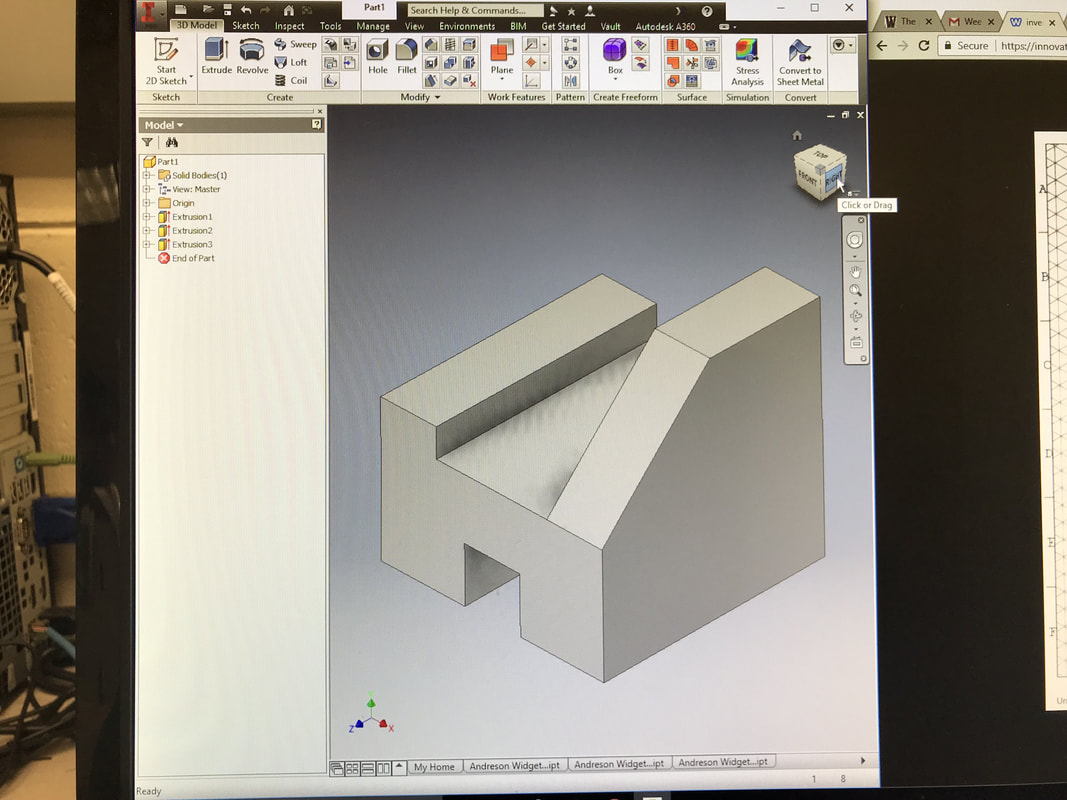
After my sketches were complete it was time to actually create a widget using Inventor. I will make all of the widgets on Inventor but I chose widget number 6 to go through the entire process with, including printing. To start I selected the new icon, and then hit create. This created a new file for me to create my widget on.
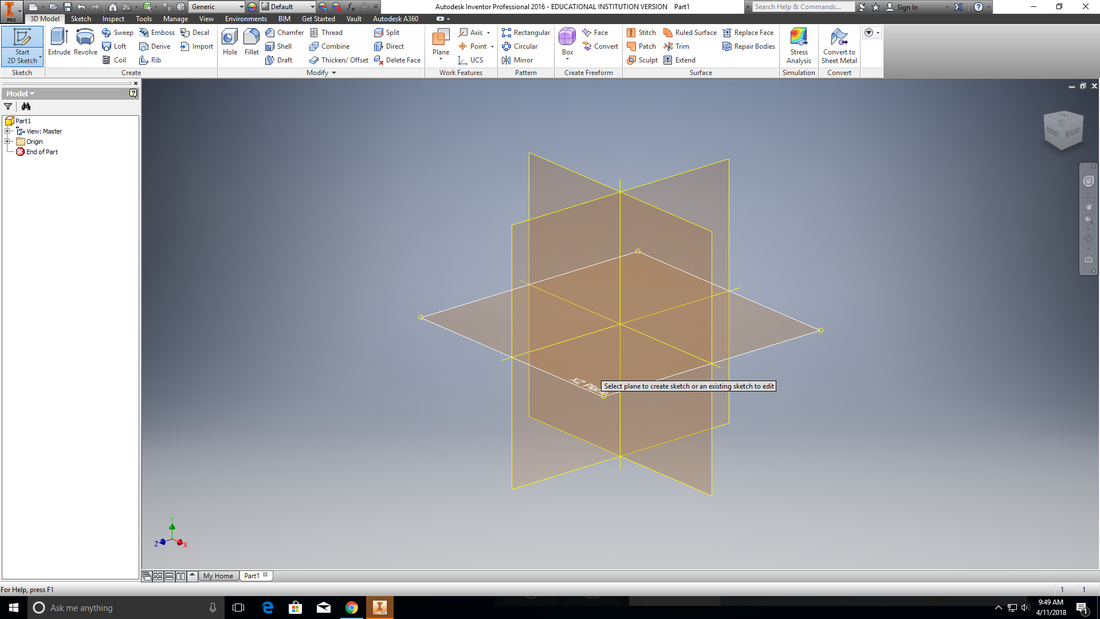
After this new file was created I was able to select the start 2-D sketch icon. After that I selected the XZ plane and was able to start my sketch.
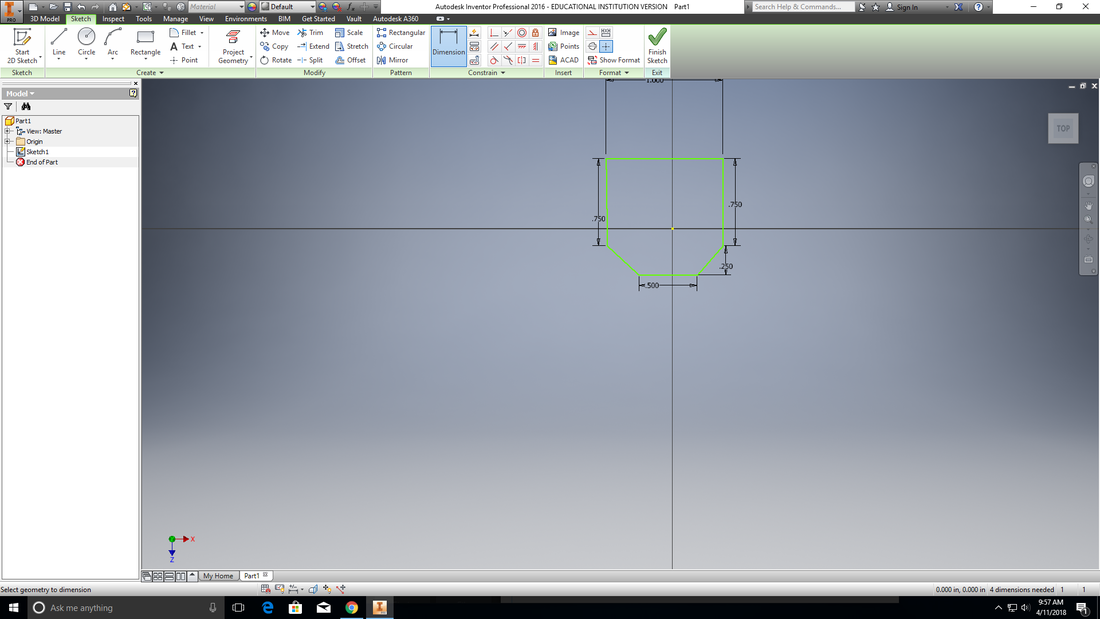
To create my sketch I first selected the line button. Then I made sure that the box on the top right said top, since I was going to draw the top of the widget first. After that I drew the shape of the top of the widget.
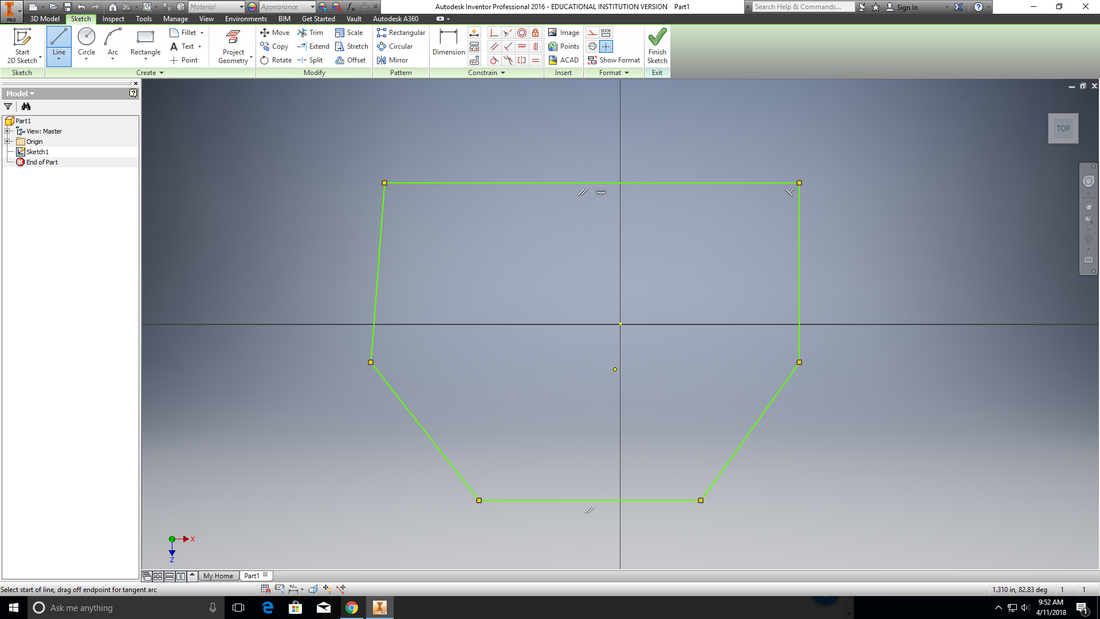
After the sketch was complete I made it the correct size. I did this by clicking the dimension button and then clicking on the line that I wanted to dimension. I then entered the correct length in inches of the part of the design that I wanted to dimension. Since I know that each line on my isometric sketch is 0.25 inches I knew exactly what the dimensions should be for each part of the sketch.
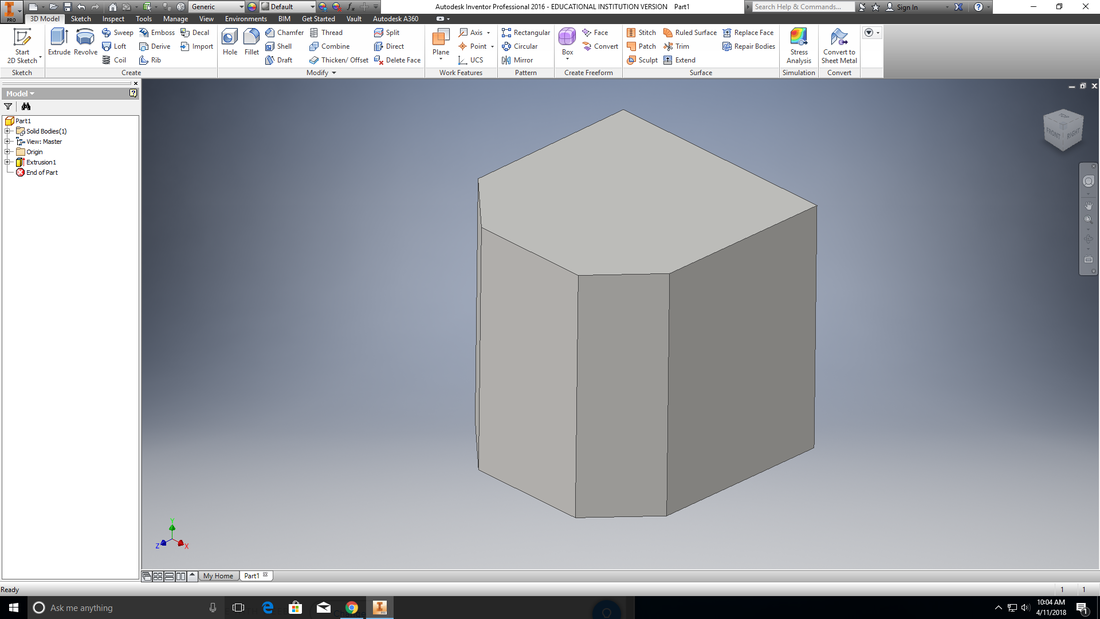
After my sketch was the correct size I would have to make it 3-D. To do this I first selected finish sketch and then used the extrude button. This button takes your sketch and can either make it into a 3-D shape or it can do the opposite and cut it out of a 3-D shape. I selected the extrude button and the made sure it was making my sketch a 3-D object. I then determined the height of the widget (which was 1 inch) from my isometric sketch and entered that number and then hit enter.
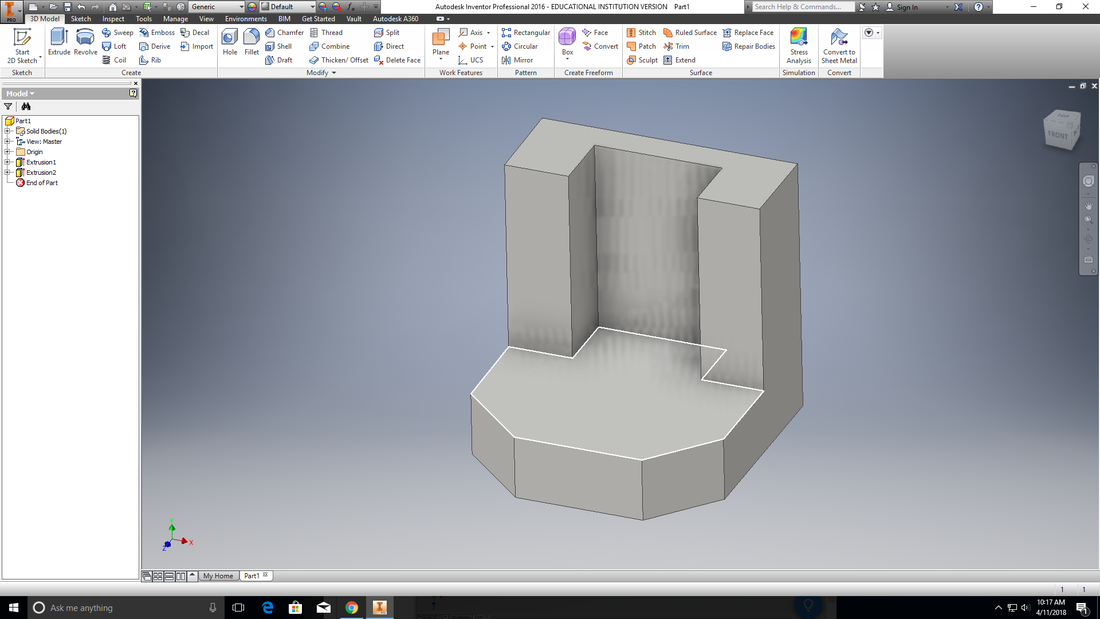
After the basic shape was made I had to cut away some of it. To do this I will make a sketch and use the extrude to cut out instead of making a 3-D shape. So just like before I selected sketch and then line and made a sketch on the top of my object of where I wanted to cut out.
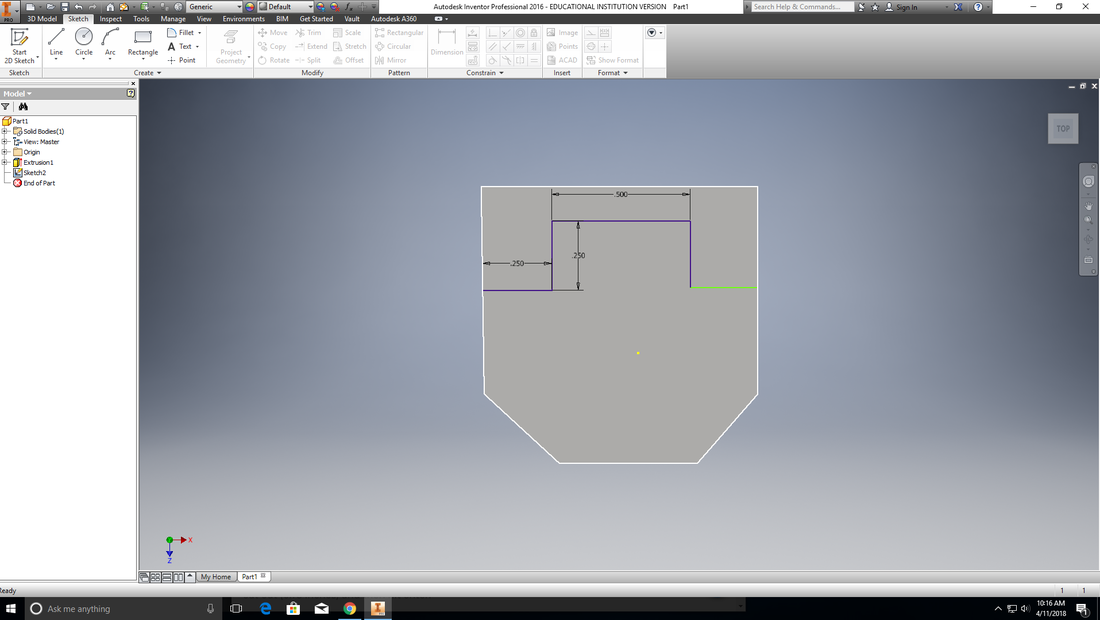
After I had hit finish sketch I again selected the extrude button. This time however I selected the second option for extruding because I am cutting this shape out. I then entered the height of the cut out (0.75 inches) and then hit enter.
After the chair shape was made all I had to do was cut out the whole in the middle. I made a sketch of where it would be cut out.
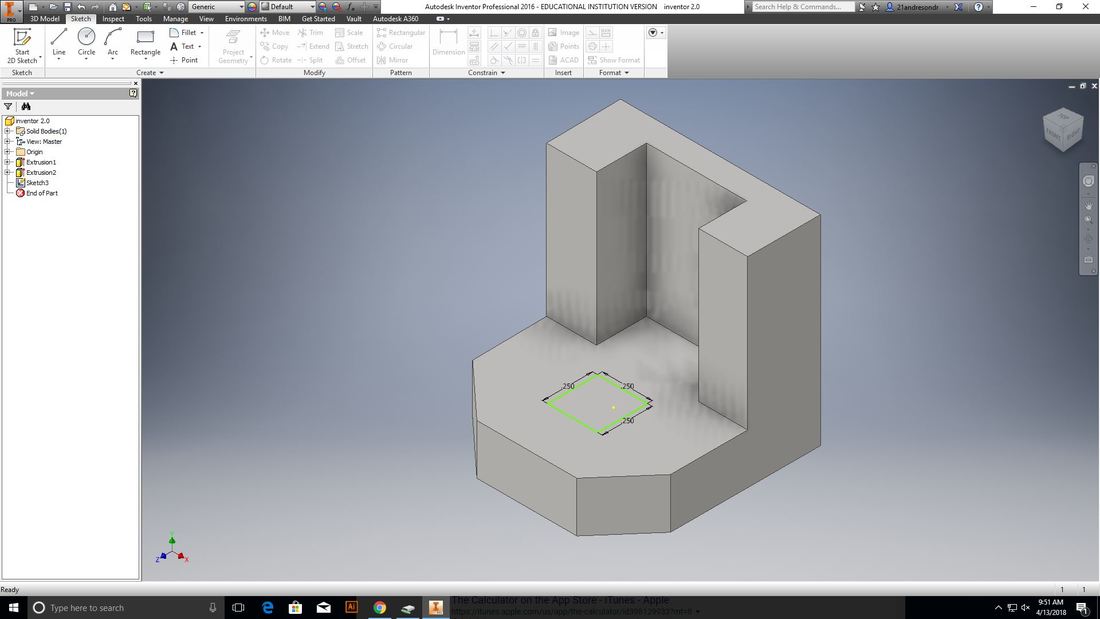
After I had the sketch of the hole complete all I has to do was cut it out. I hit extrude and then selected the second option so that it cut out the sketch.
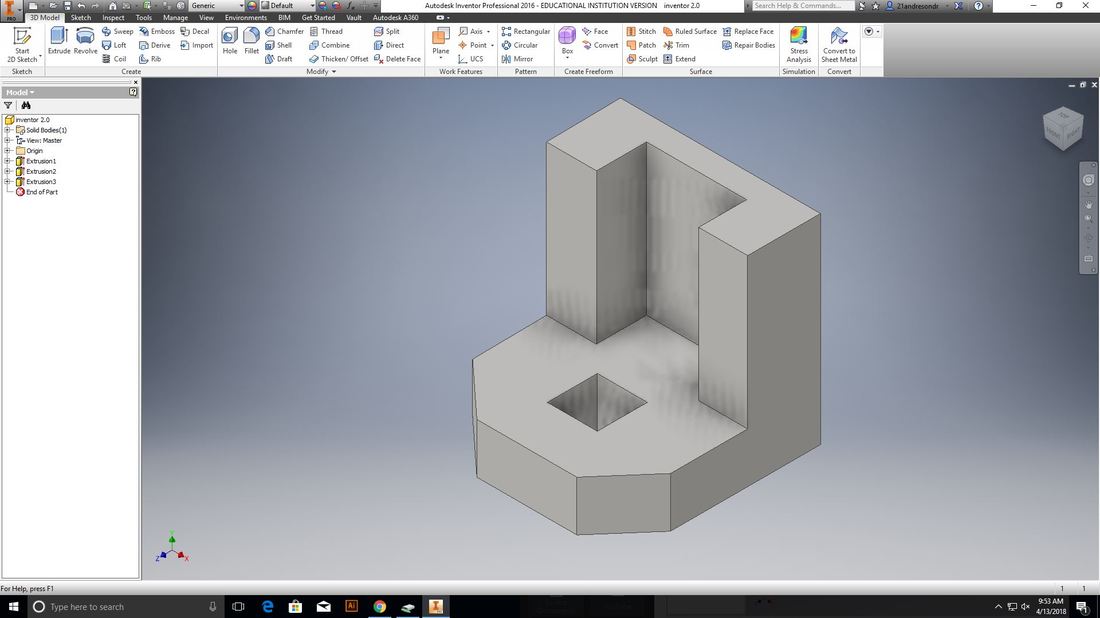
After I had done this my widget was finished and I was ready to convert it into a makerbot and eventually print out the widget using the 3-D printer. I first exported the widget into the makerbot software.
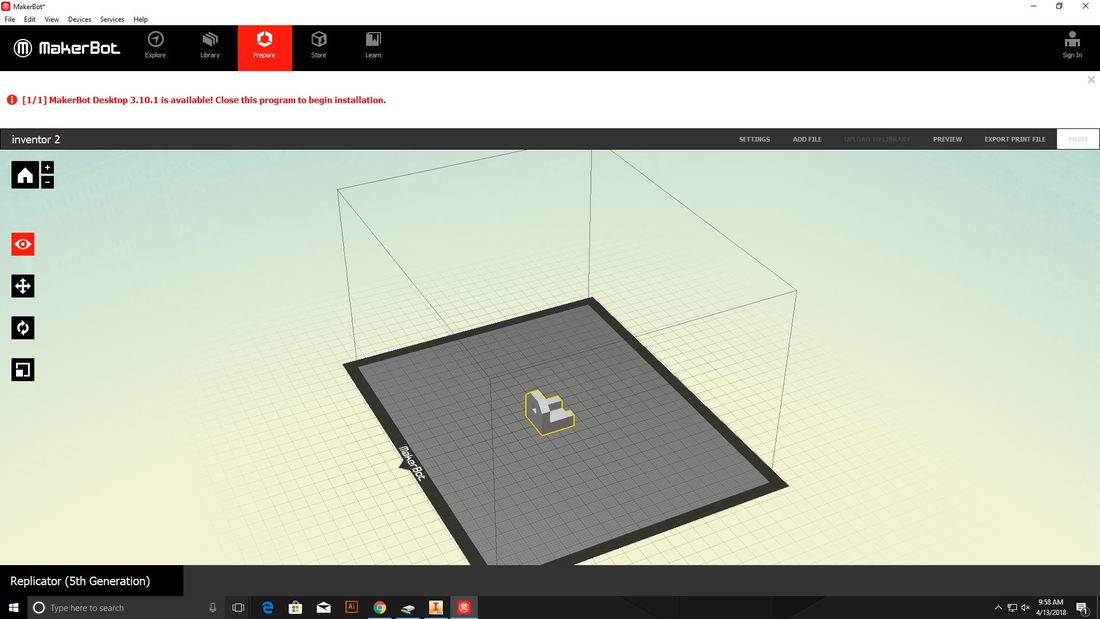
Once my widget was in the makerbot I made sure that the scale was 1000 because there is a glitch in the software. I then looked at the preview screen to make sure that everything was correct.
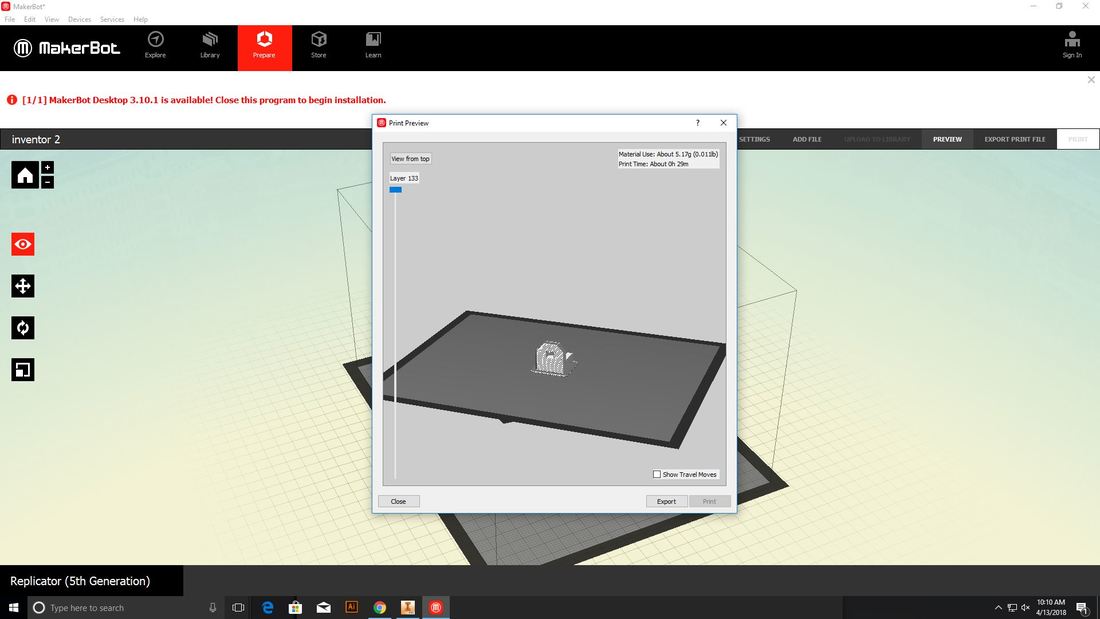
After this was done I exported the print file to my flashdrive. I then went down to the 3-D printer and inserted my flashdrive. I then went on the 3-D printer and selected my flashdrive. I then selected the correct file and hit print. The printer had to heat up first before it could print.
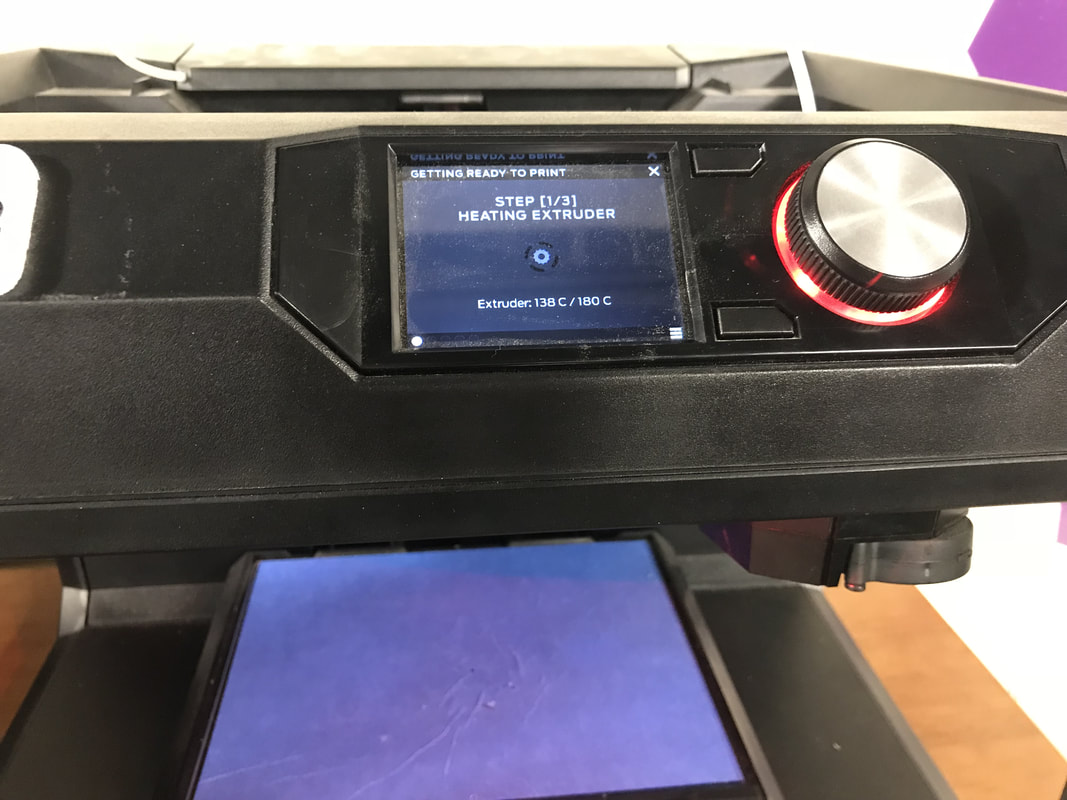
After the printer was all heated up it started printing my widget.
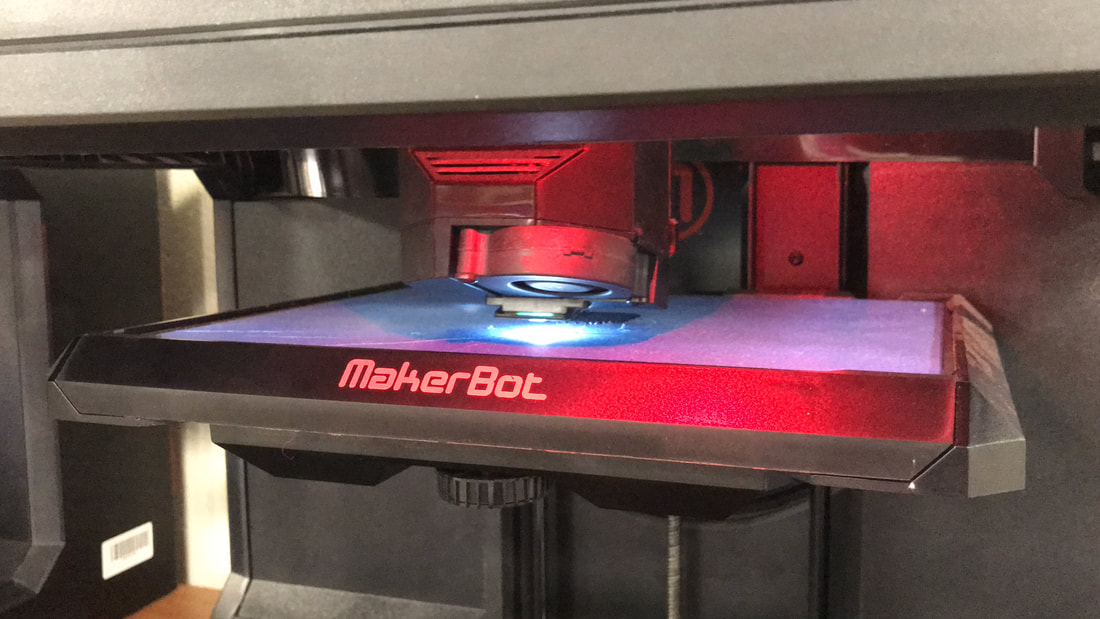
After about 30 minutes my widget was done printing, and I took it off of the 3-D printer.
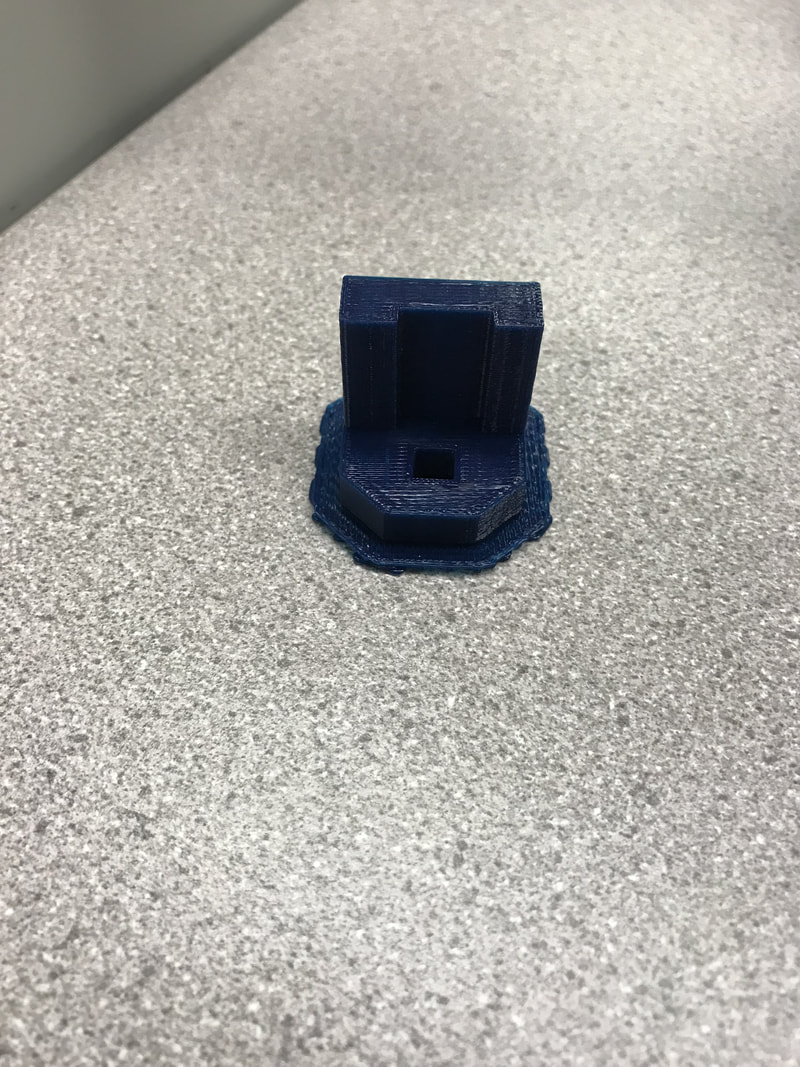
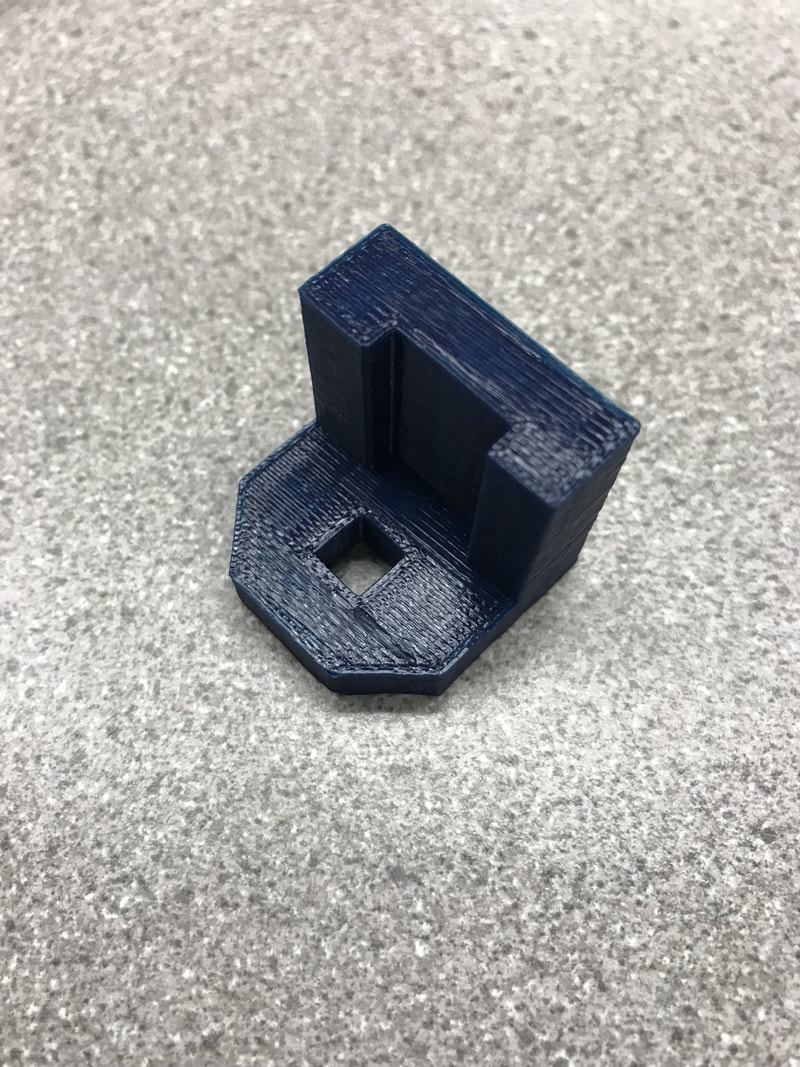
I now had to remove the rafts and supports from my widget. After I did this my widget was complete! Here is a picture of my finished widget;
Other Widgets That I Created in Inventor
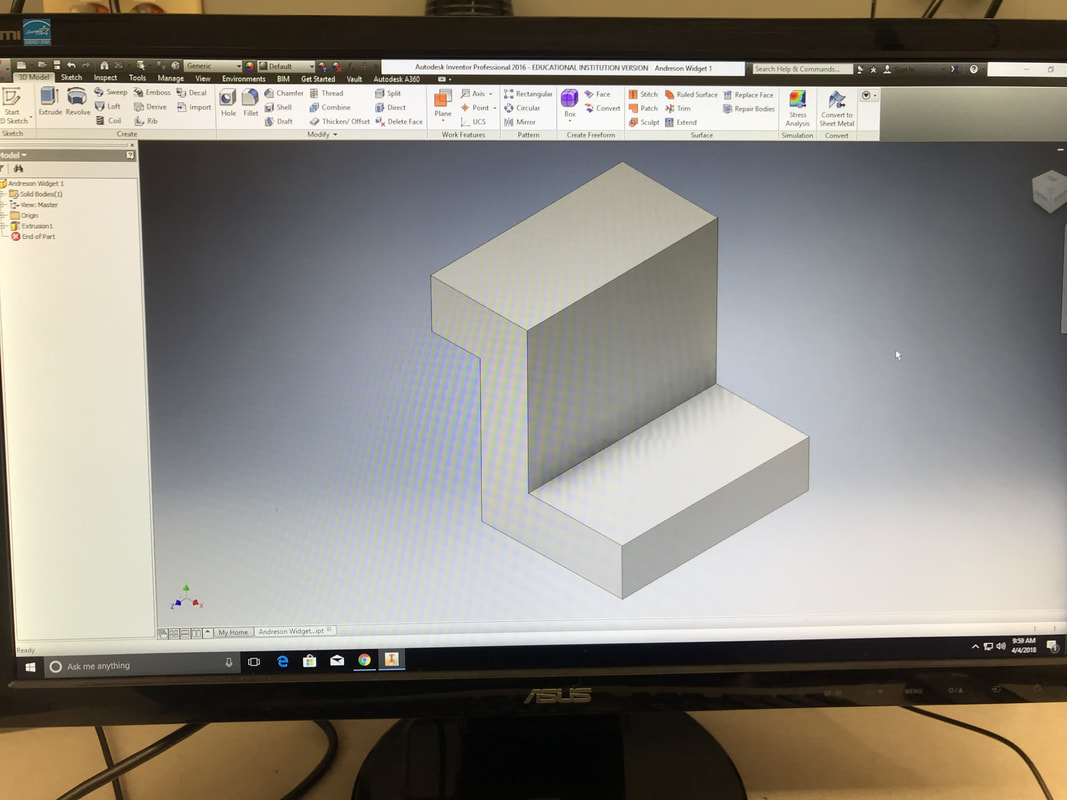
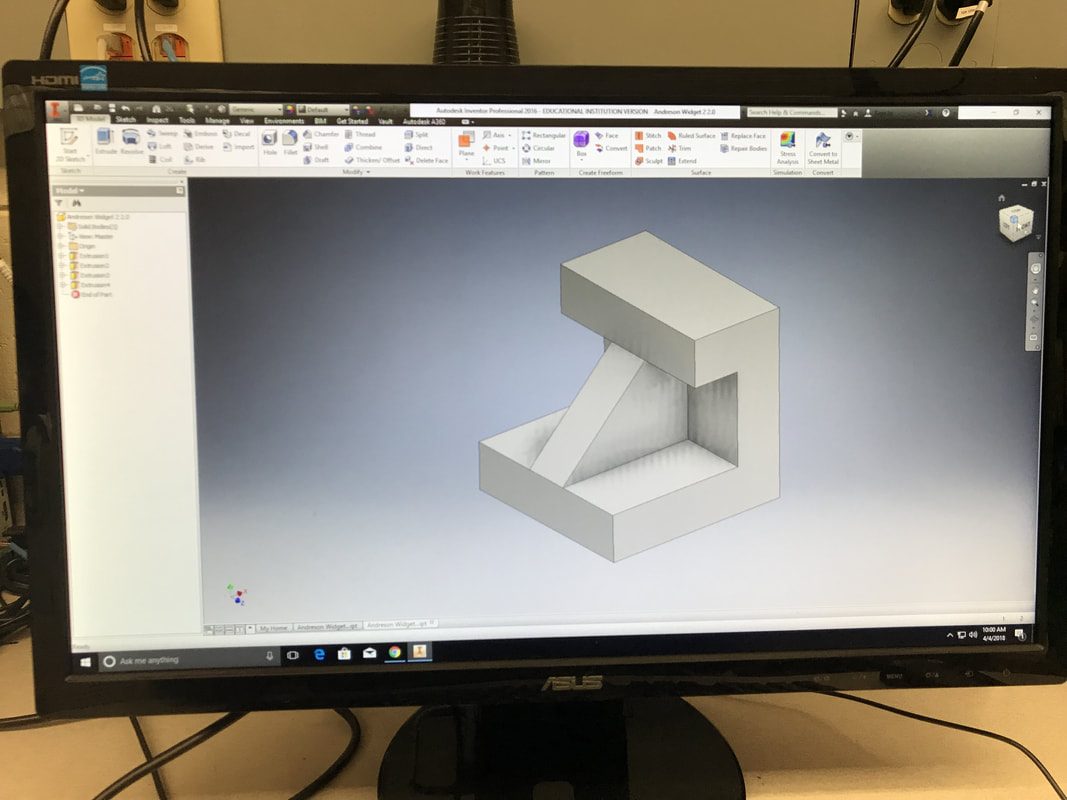
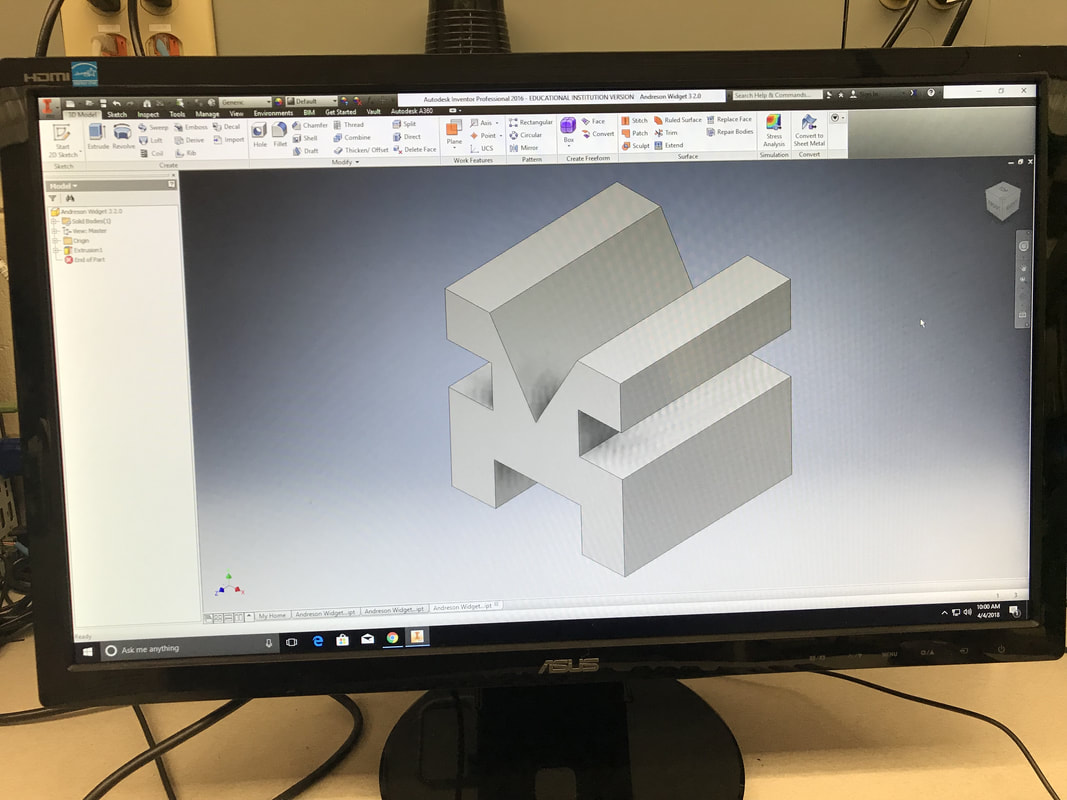
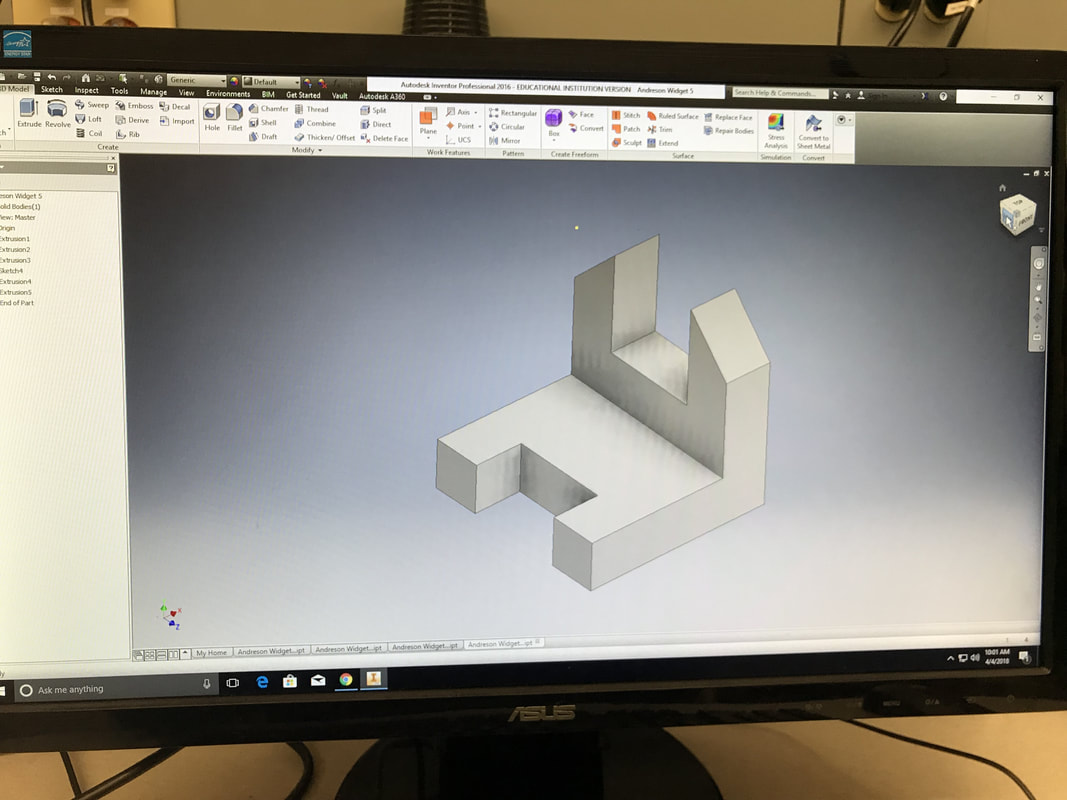
Here are pictures of the other 5 widgets that I created on Inventor;
What I learned
I definitely learned a lot in this project. I first learned how to draw isometric sketches which I thought was pretty cool to draw. I also went from not knowing a thing about Inventor to now being able to use it without any help. I think making these widgets made you use a lot of different options on Inventor and got me very familiarized with the software. I also learned how to convert an Inventor file into maker bot so that I could 3-D print it. I also was able to learn how to use the 3-D printer which I had never used before. All in all I think it was a great project where I learned a lot about many different software and machines.
