Options
For the 3-D printing assignment I had a choice about what to create. There were four different options for me to choose from;
- A decorative holder that successfully holds your cell phone
- An organizational device that neatly holds no less than; 50 Pennies, 40 Nickles, 50 Dimes, 40 Quarters.
- A device that neatly holds 4 toothbrushes
- A device that organizes a set of earbuds and attached cord
My Decision
I decided to create the Coin Holder for my 3-D printing assignment. I chose the coin holder because it was to me the most interesting object out of all of them. I also knew that I would use a coin holder where as the other options like the toothbrush holder, cell phone holder, and ear bud holder I probably would never use. I also remembered that my dad has a coin holder built into his truck and when I was younger I thought that it was pretty cool. With this project I could have my own coin holder!
Requirements
For the 3-D printing assignment there was certain criteria that I had to follow;
- The coin holder must hold no less than; 50 pennies, 40 nickels, 50 dimes, and 40 quarters.
Generating Ideas (Day 1 of Rotation 3)
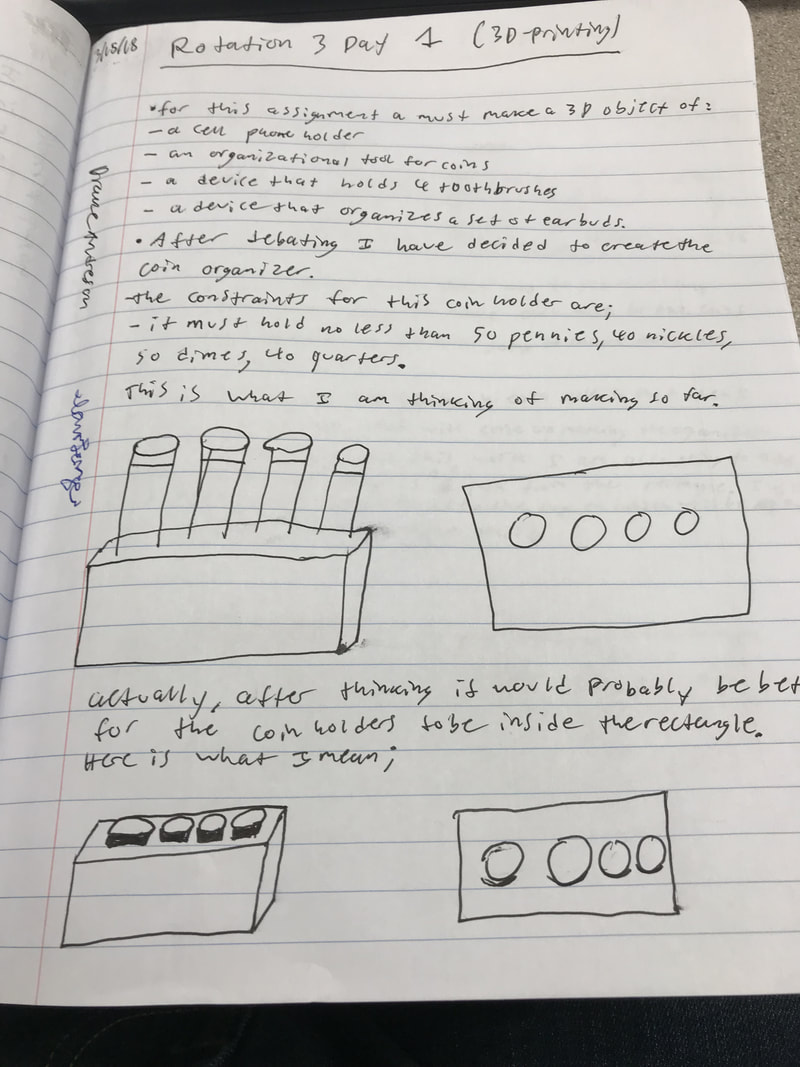
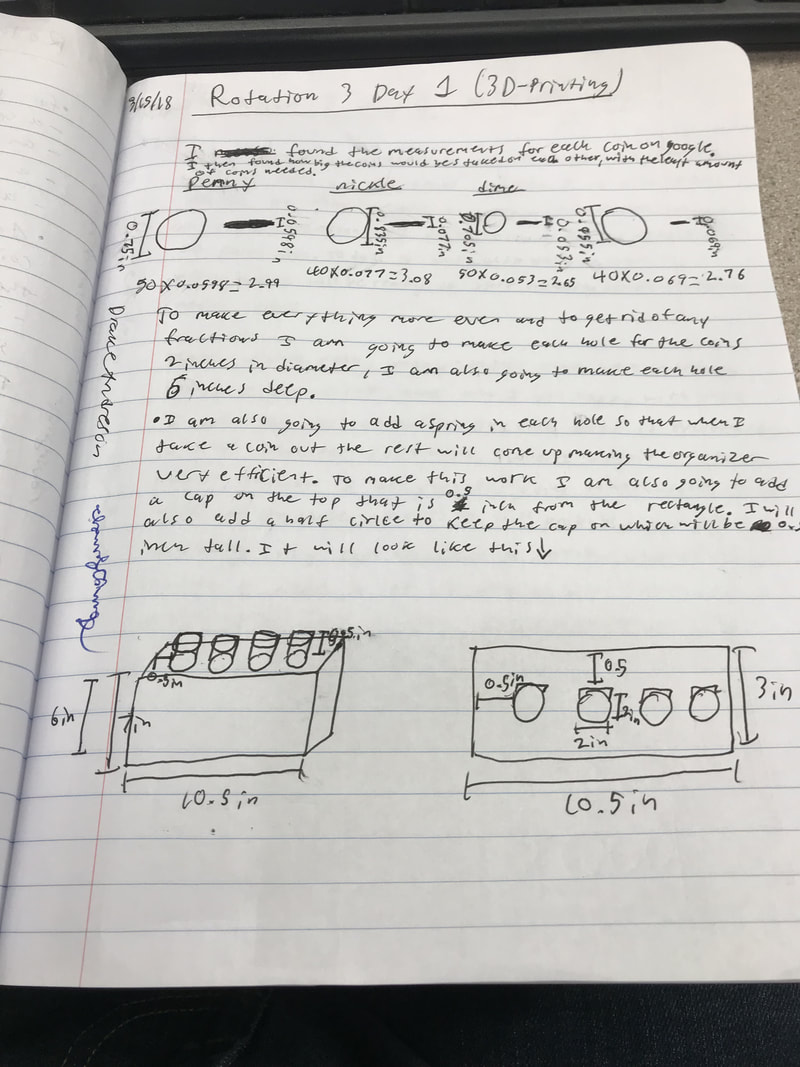
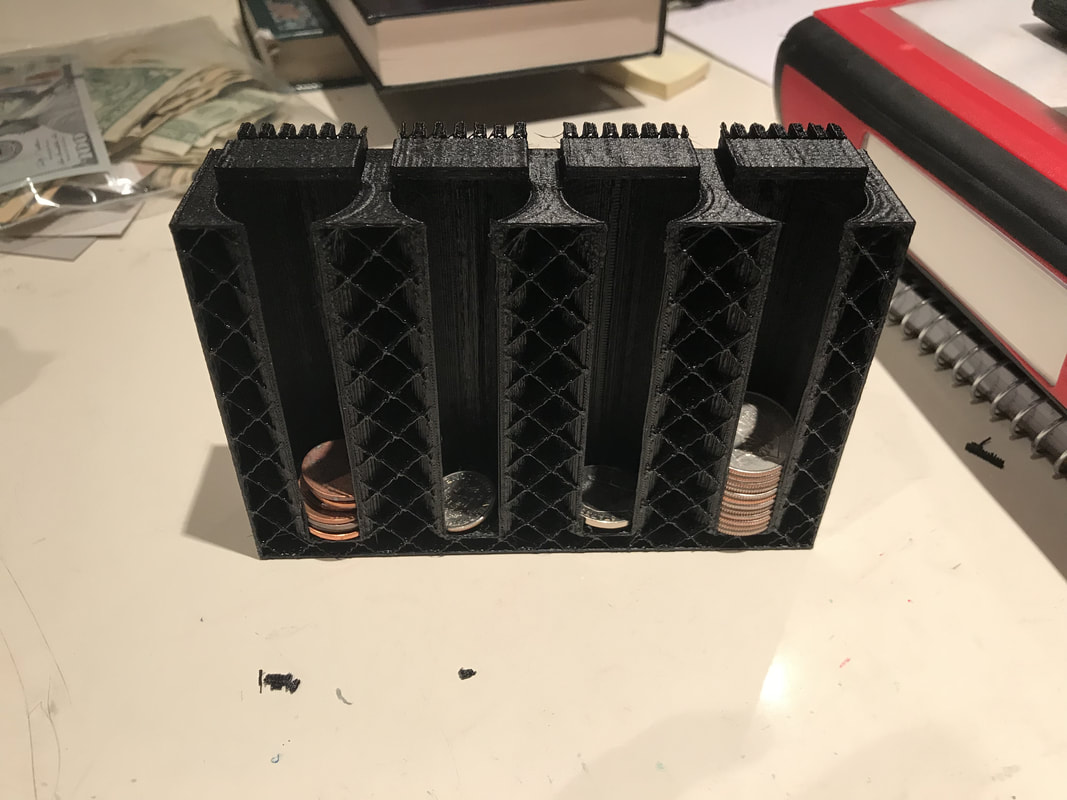
After brainstorming and thinking of how the coin holder looked in my dad's truck I decided on the design of my coin holder. It will basically be a rectangle with cylinder holes for the coins. To make the coins accessible and easy to take out I will put springs in the hole underneath the coins. To make sure the coins don't go flying out and stay in place, on the opening of the holes I will but a half circle cover. After I decided what my design would look like I had to do some measuring. I looked up on google the width and height of each coin. For sake of not having a lot of decimals I decided I would make each hole 2 inches in diameter, which would easily allow any type of coin to fit through. Since I had to have a certain number of each coin I took the height of each coin and multiplied it with the corresponding amount of coins to get the depth of each hole. Again for sake of evenness and not having decimals I will make every hole 6 inches deep, again meeting the requirements. I decided that I would make the cap on top of each hole 0.5 inches from the rectangle and the half circle cap itself will be 0.5 inches tall.
|
|
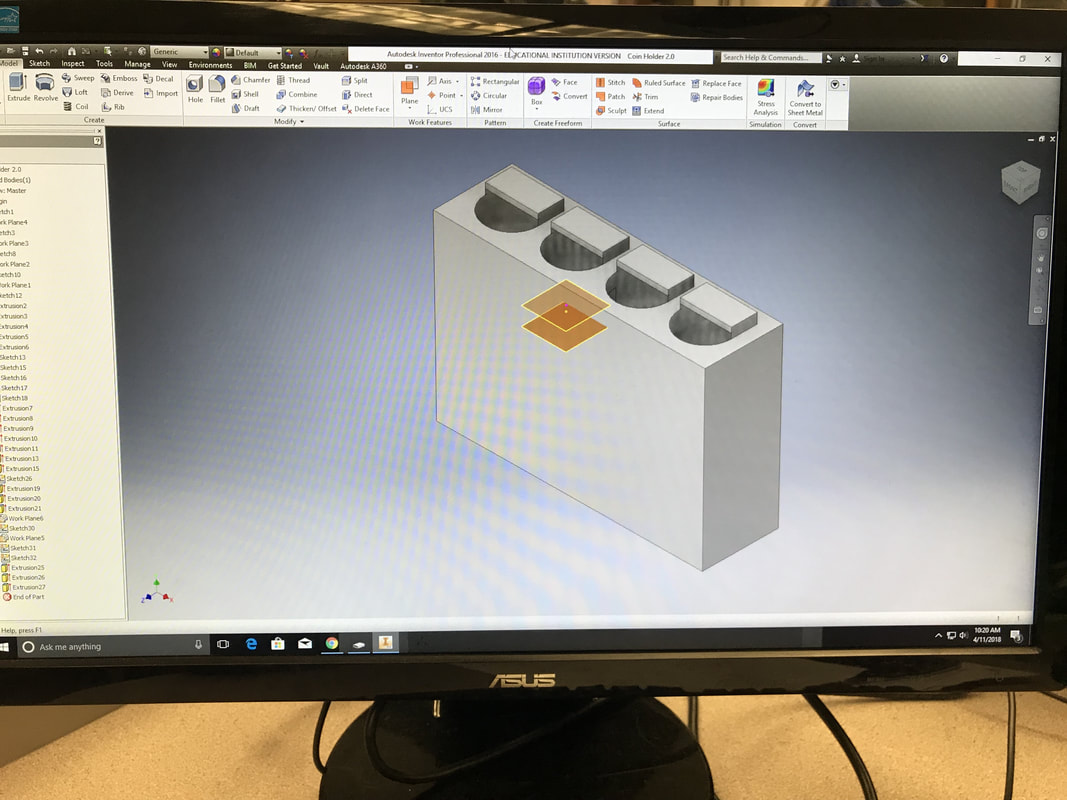
Creating My Design on Inventor (Day 2 of Rotation 3)
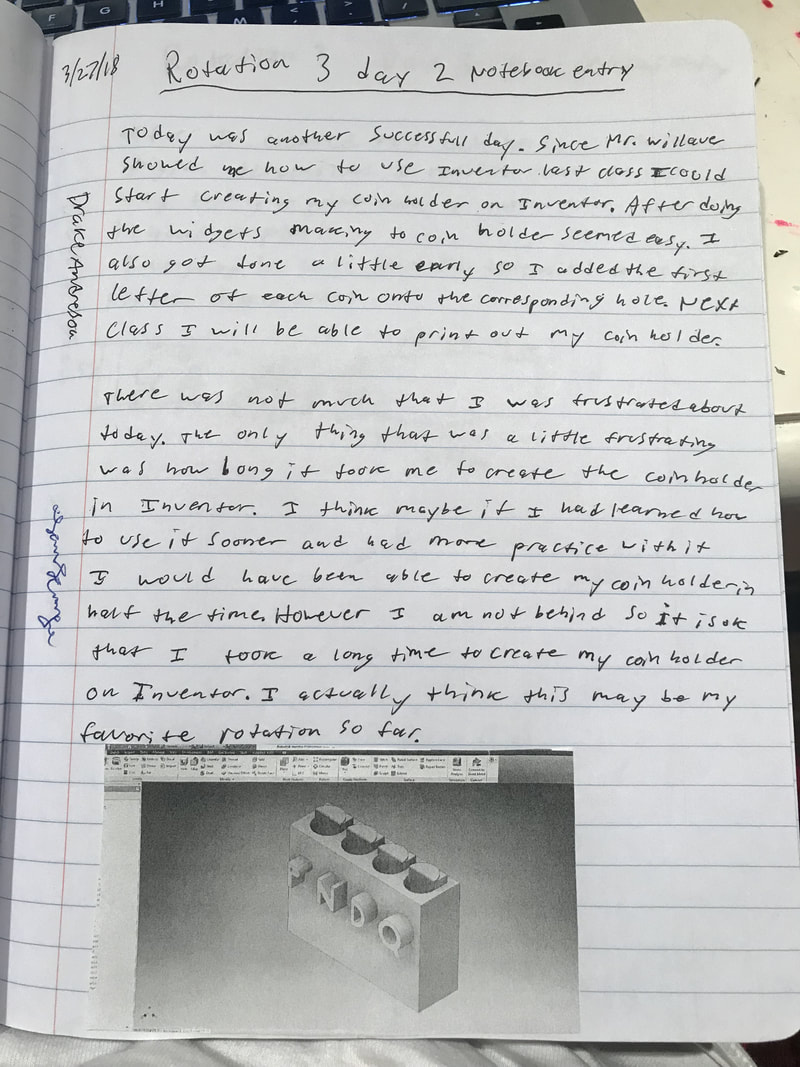
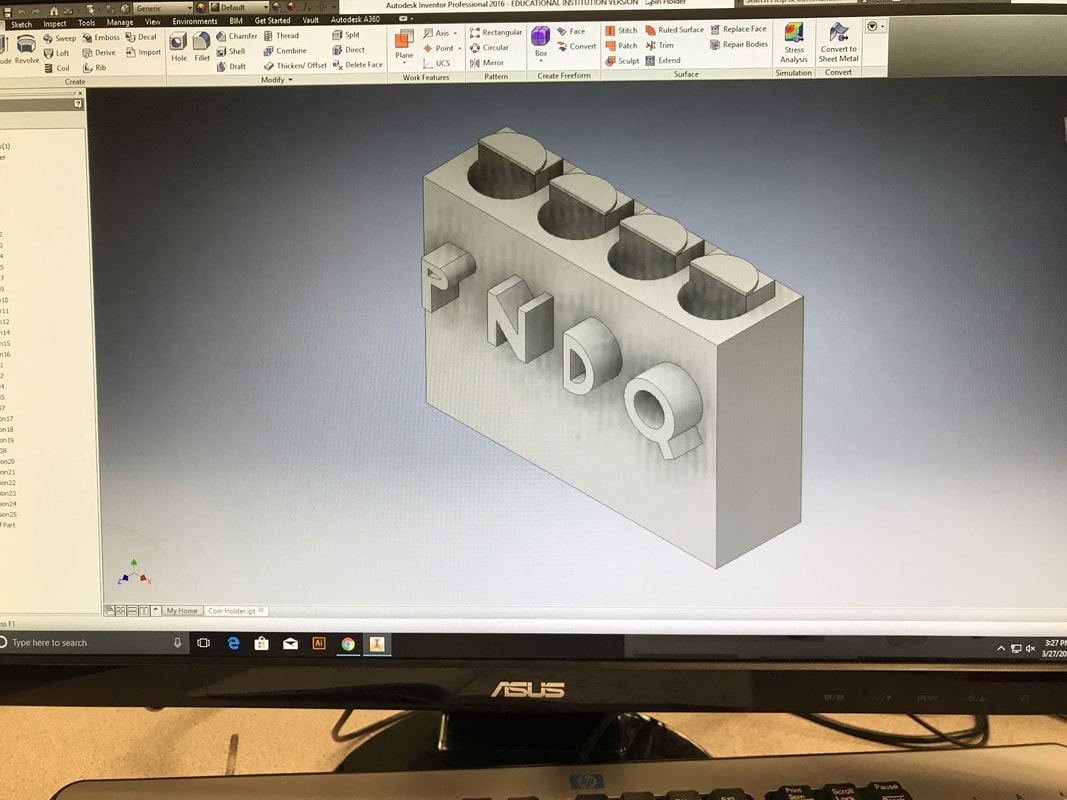
Today I created my Coin Holder on Inventor. This was actually fairly easy because Mr. Willauer had just showed me how to use Inventor so I knew exactly how to work it. Also it really helped that I drew down my design and had all of the dimensions, it made it way easier to create my design the correct size. I actually got done a little early so I was able to put the first letter of each coin outside of each hole which I thought was a great touch and would help me know where each coin went when the Coin Holder is printed out. Today was very successful for me and I am starting to think that this is my favorite rotation so far. I also am not behind for once which is a definite win for me.
|

|
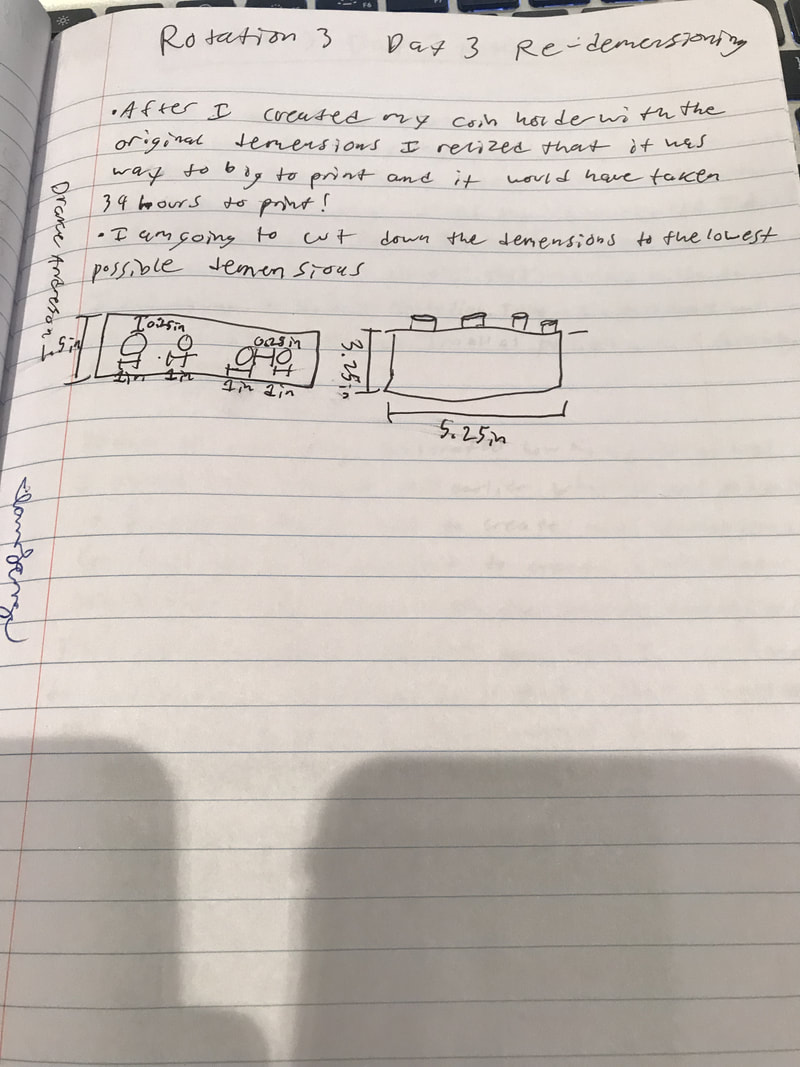
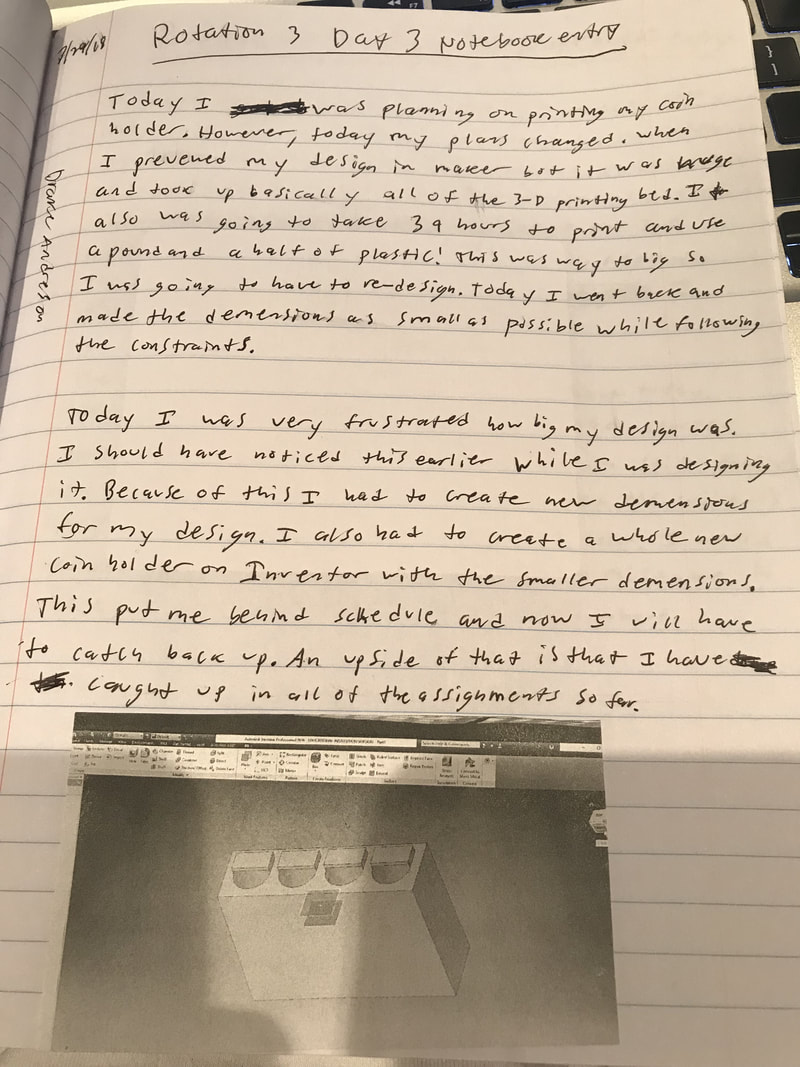
Re-Demensoning my Design (Day 3 of rotation 3)
After I had finished my design last class I had anticipated to print it out this class however this was not the case. I started by exporting my Inventor file into the makerbot software using the makerbot walkthrough on the resources page. I then made the scale 1000 because there is a glitch in the software. However when just looking at my design on Maker Bot I could already tell that it was going to be way to big. This idea proven true when I previewed the print and realized that it would take up all of the 3-D printing bed, use a pound and a half of plastic, and would take 39 hours to print! I quickly decided that I would have to correct my dimensions on my design in order to make my design the optimum shape without making it too big or too small. When I first decided the dimensions for my design I was very generous and made dimensions way larger than they needed to be. During my re-demensioning process I made the dimensions as small as possible while still meeting the criteria. I was able to shrink the overall shape from being 10.5 inches by 3 inches by 6 inches at the start to 5.25 inches by 1.5 inches by 3.25 inches when I was finished. After I had determined the dimensions I had to create a new coin holder on Inventor using these new dimensions. This was easy since I had already done it before just bigger, the only big change was the dimensions, and since I didn't have enough time I didn't add the 3-D letters to represent where each coin went. I am very glad I have another day of rotation so I can print this out finally.
|
|
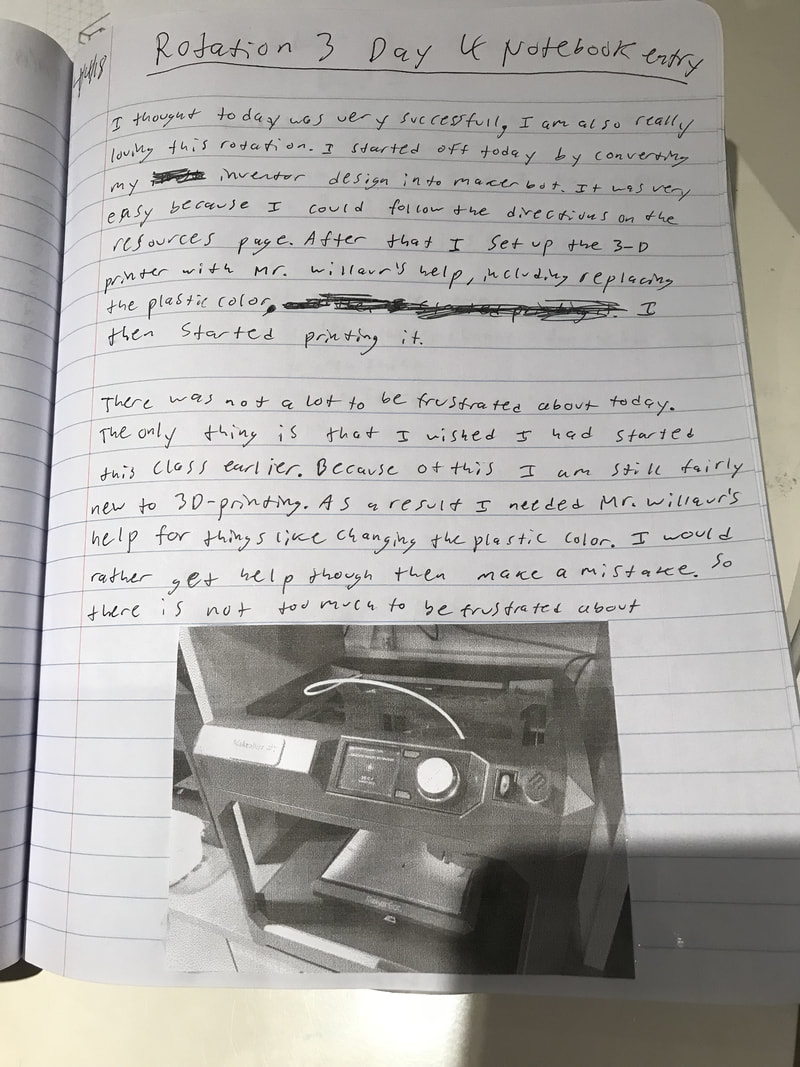
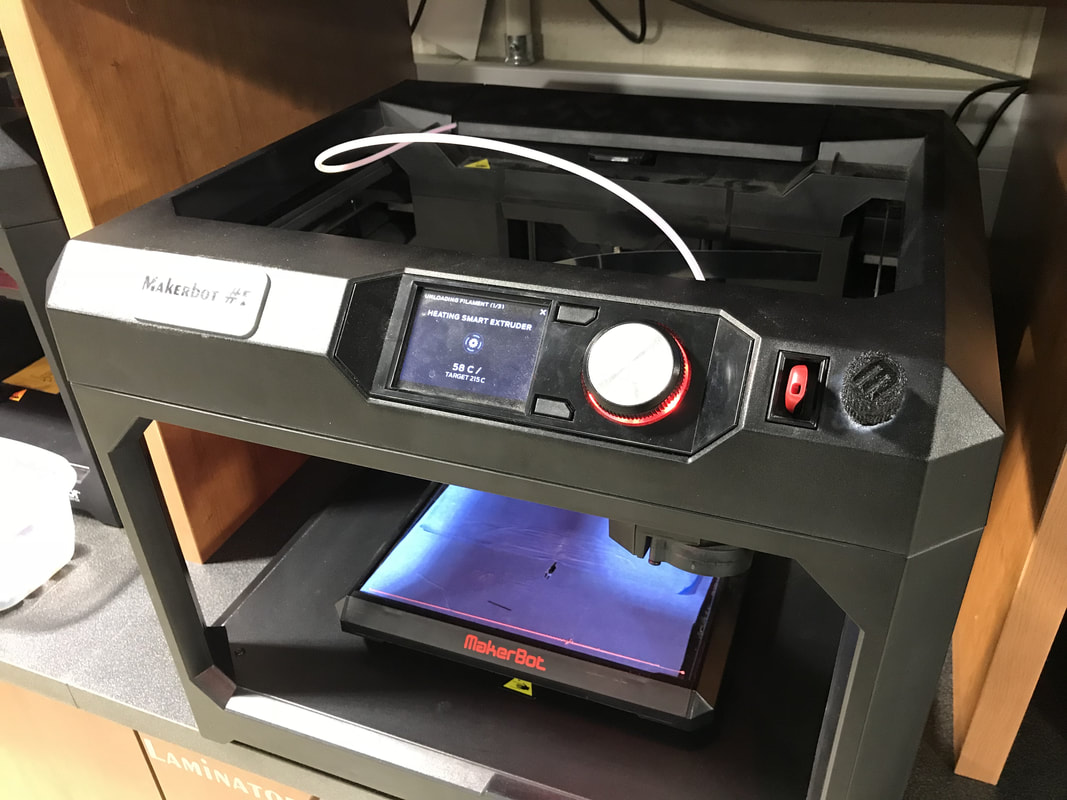
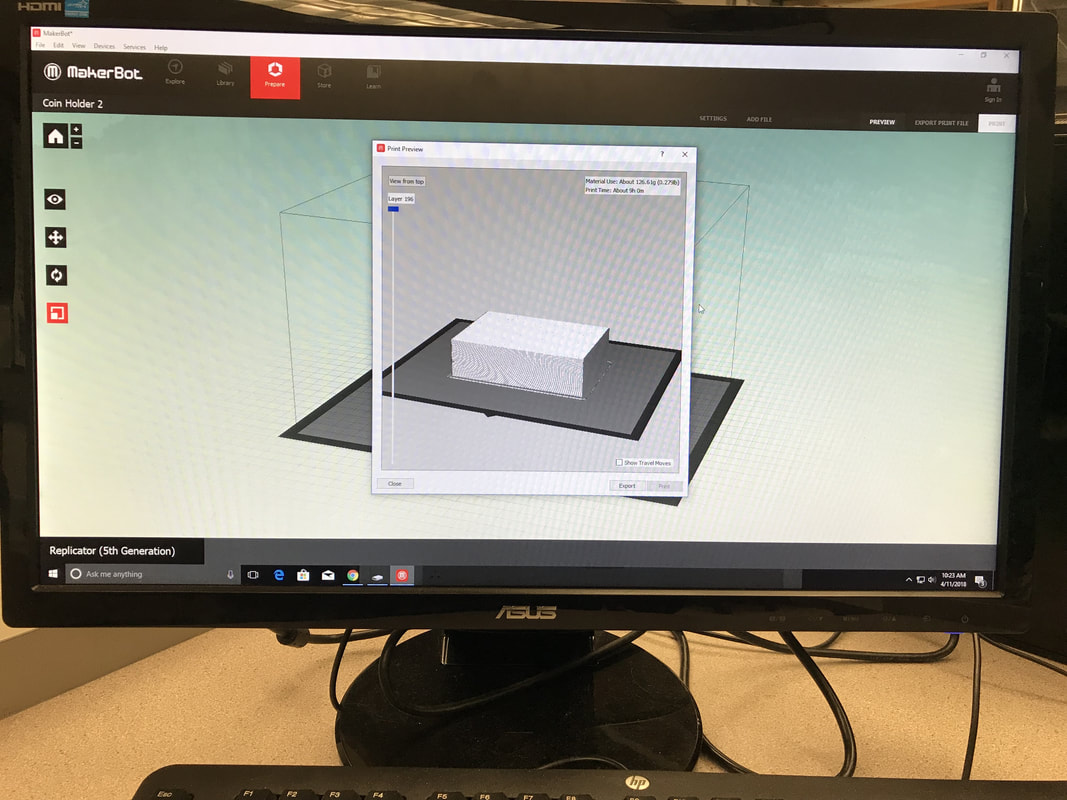
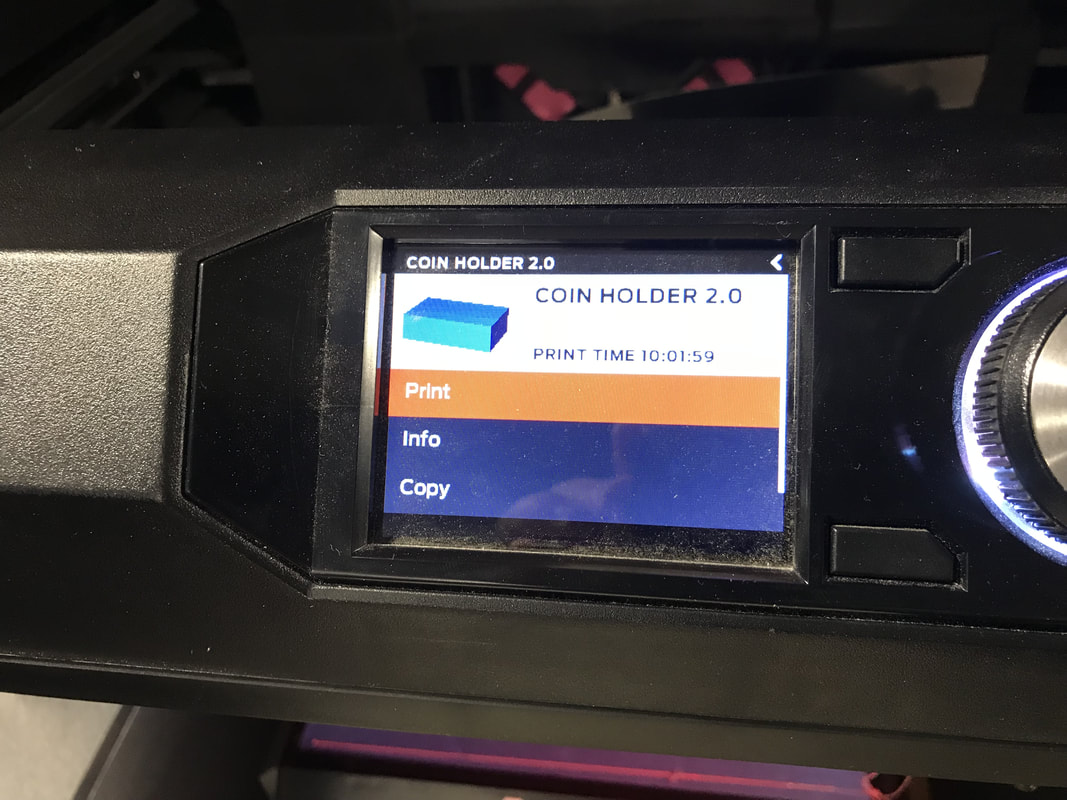
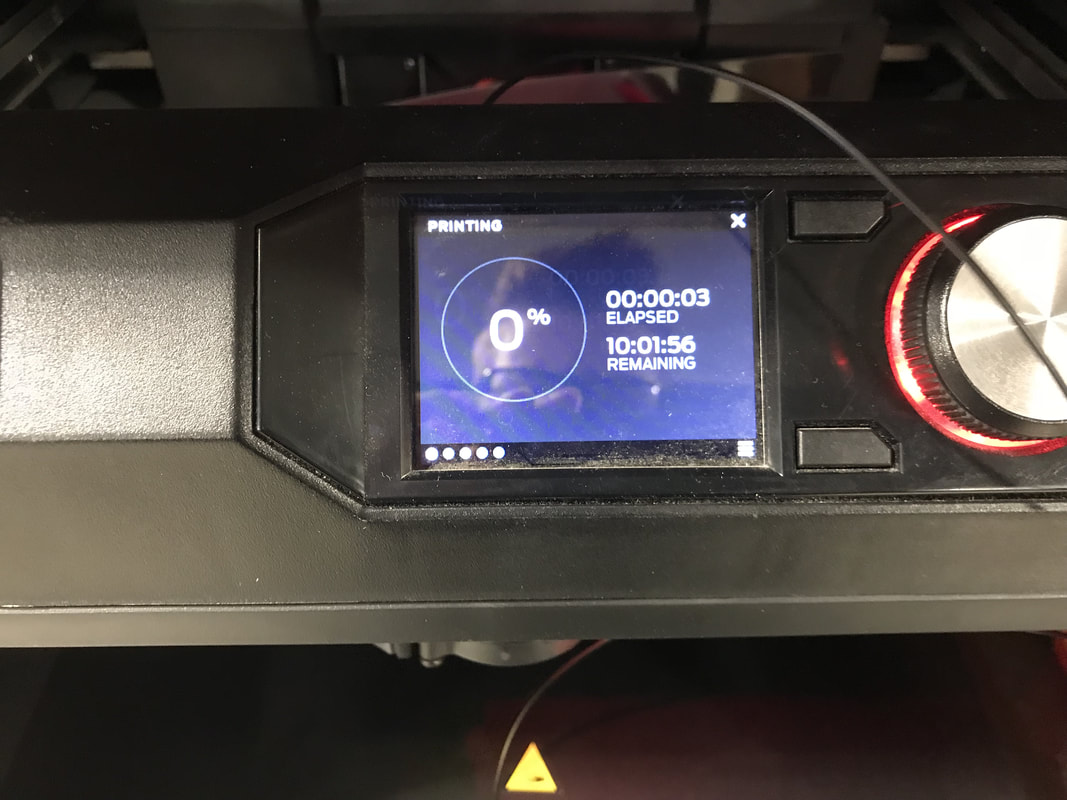
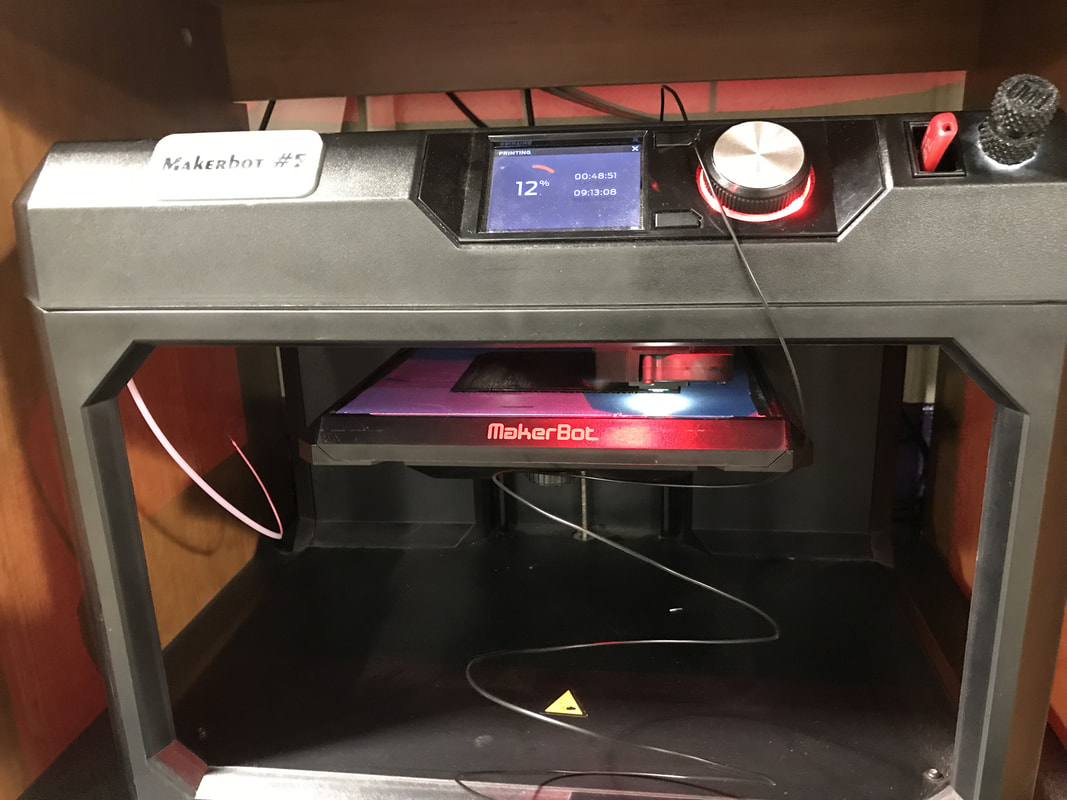
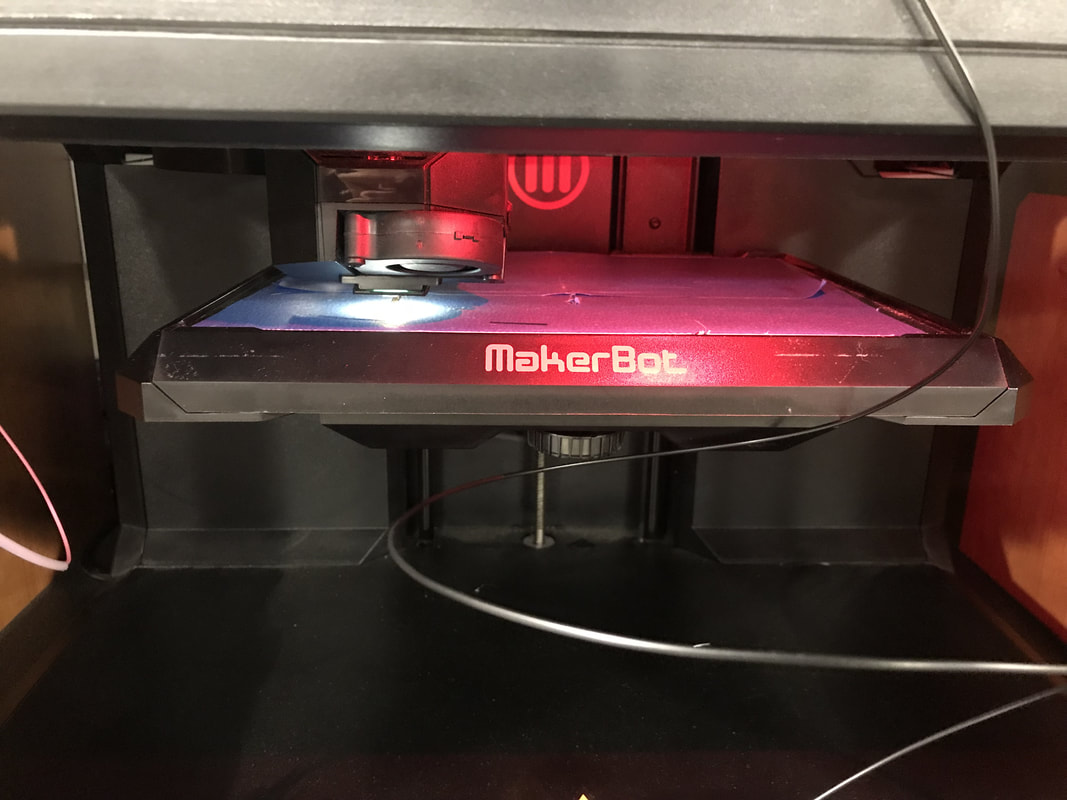
Printing Out my Coin Holder (Day 4 of Rotation 3)
I thought that today was a very successful day for me. Since I had finished my inventor design last class today I could go ahead and print my coin holder out. First however I had to convert my Inventor file into a maker bot file again. This was very easy because I could follow the walk through on the resources page and didn't need any help. I then previewed my print just to check and it was not nearly aubHs big as before and would only take 10 hours to print. I then saved the makerbot file to my flash drive and went down to the 3-D printing station. Even though I had just printed off my widget I still wanted to make sure that I was doing everything properly so I asked Mr. Willauer to help me. He helped me to set up the 3-D Printer including changing out the plastic color from pink to black. I then inserted my flash drive into the Printer, selected my file and started to print. Since Mr. Willauer had lots of pieces of black plastic he wanted to use those up first so he would have to add more black plastic when the Printer ran out. Today was a definite win for me and even though I don't like getting a lot of help I would rather get help than mess something up.
|
|
|
|
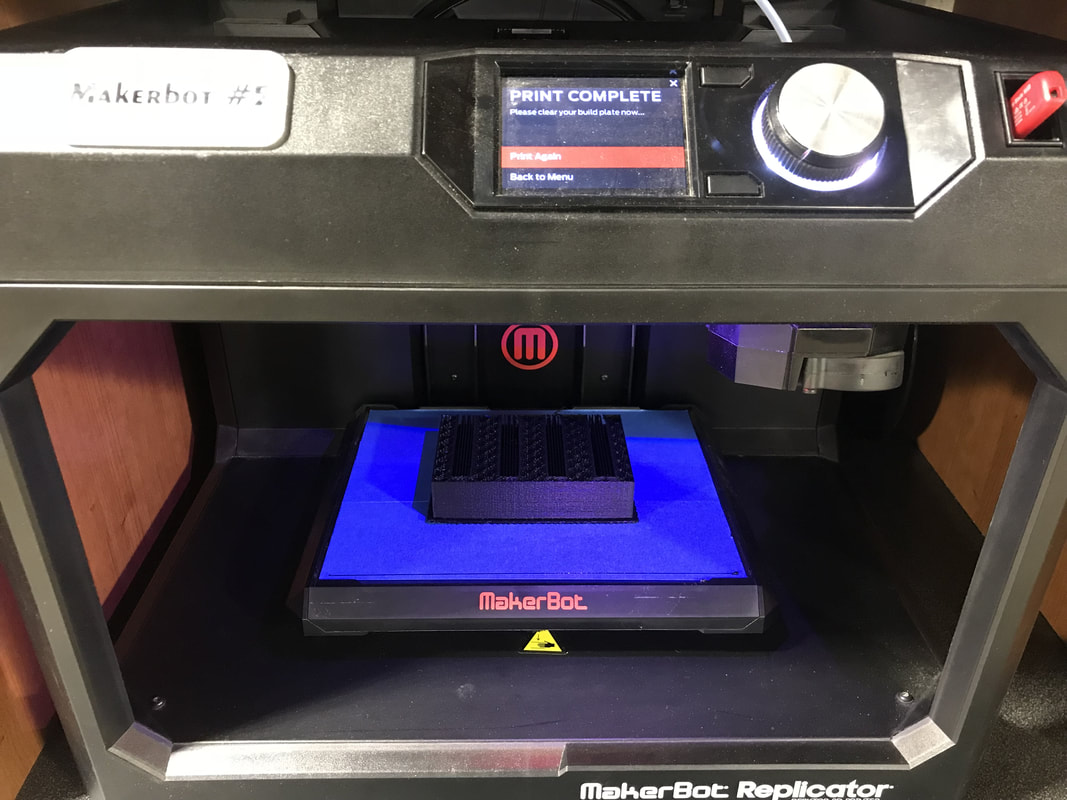
Problems With Printing and Finishing my Coin Holder
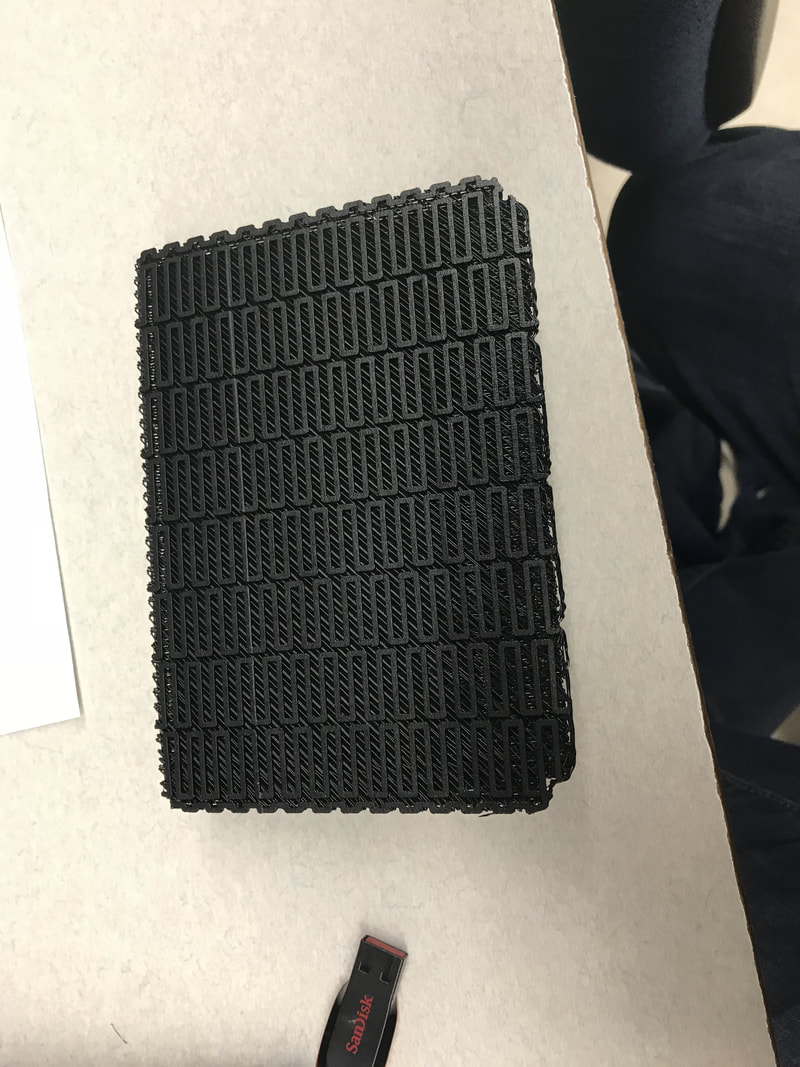
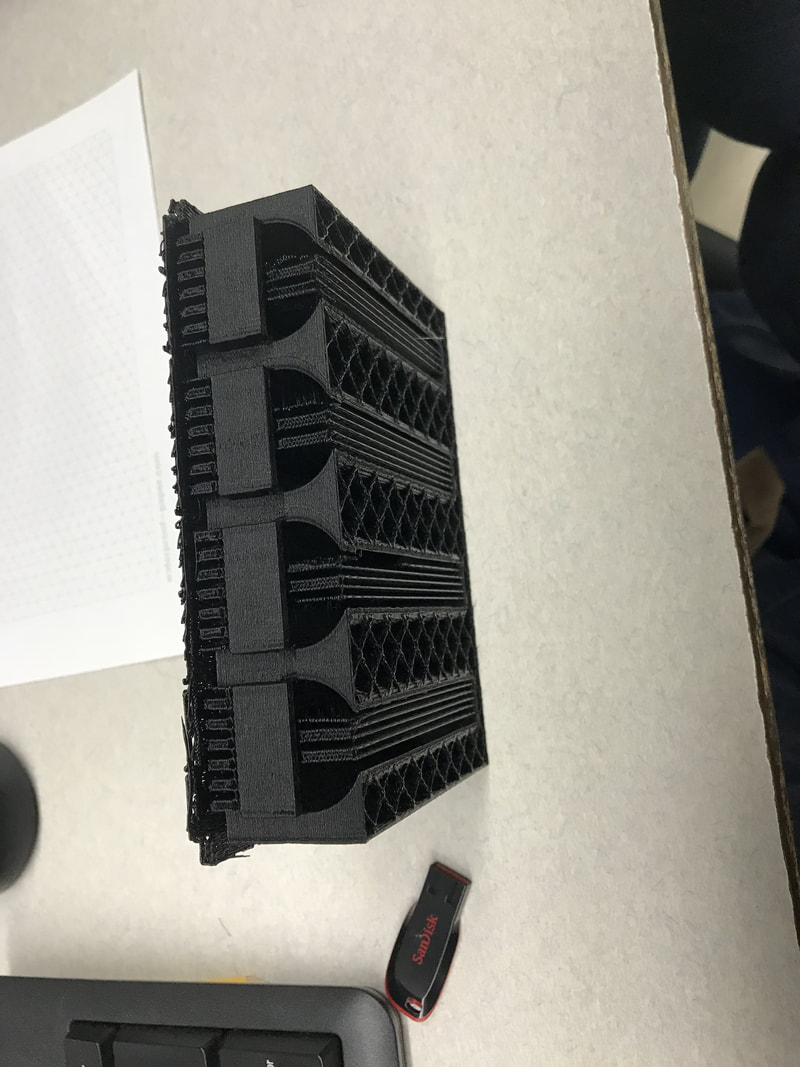
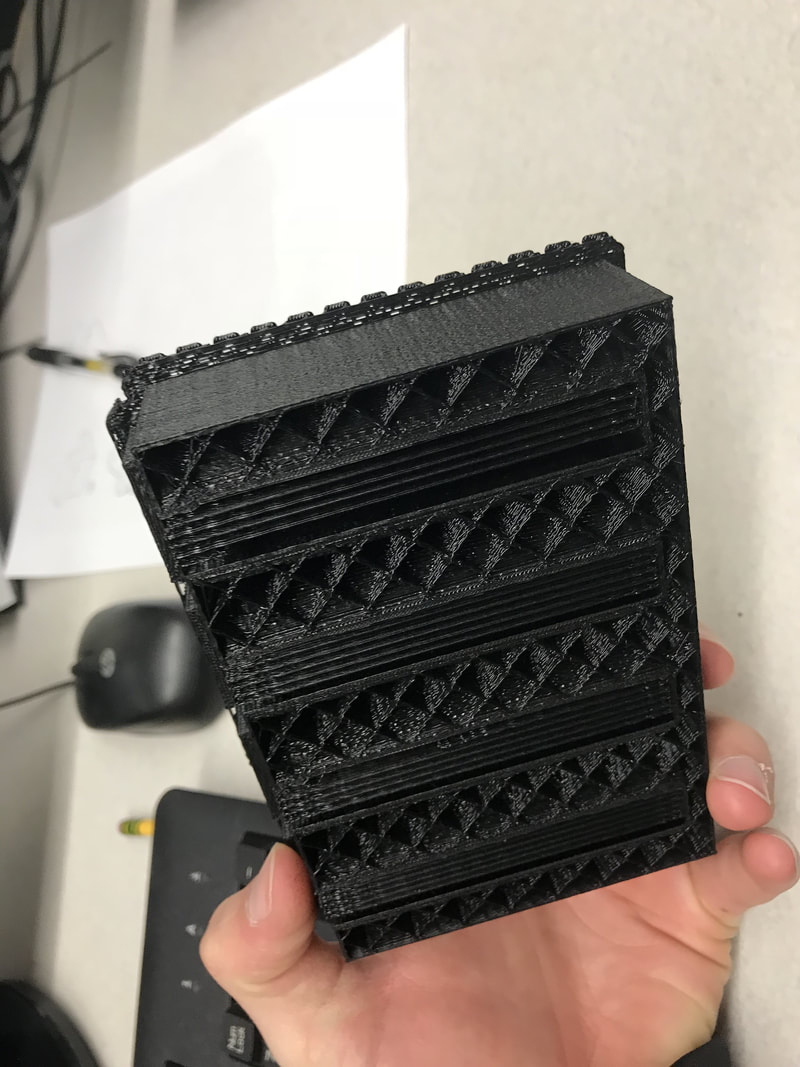
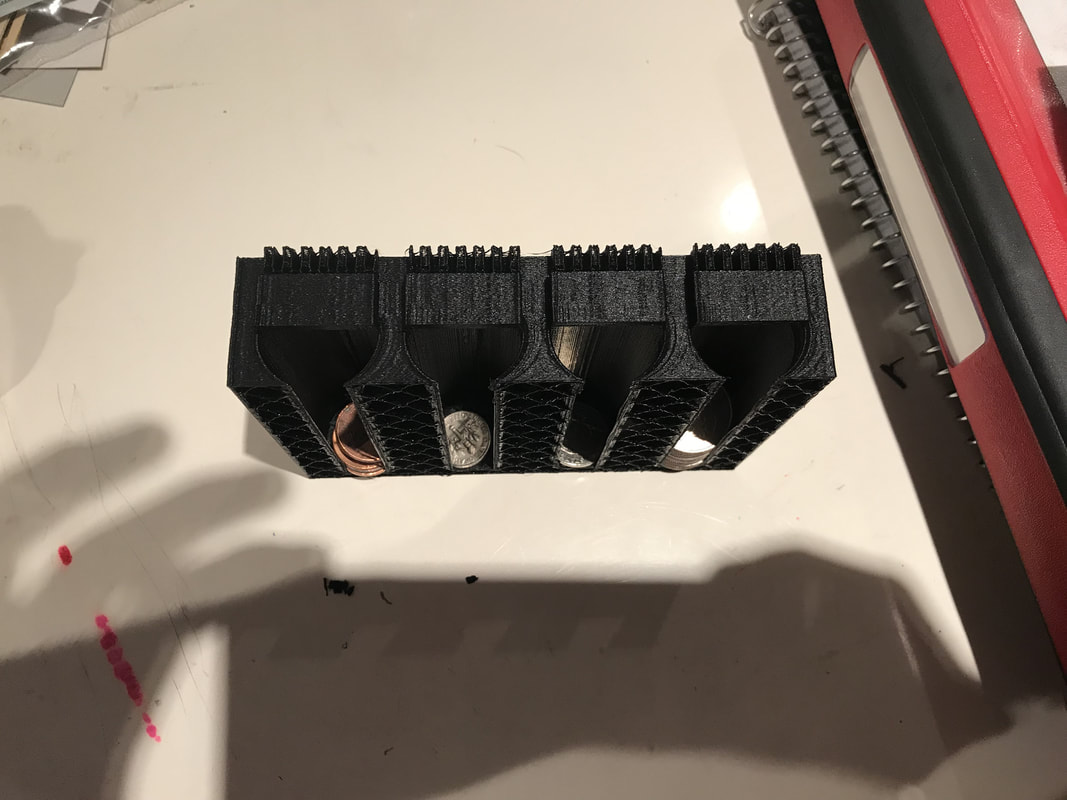
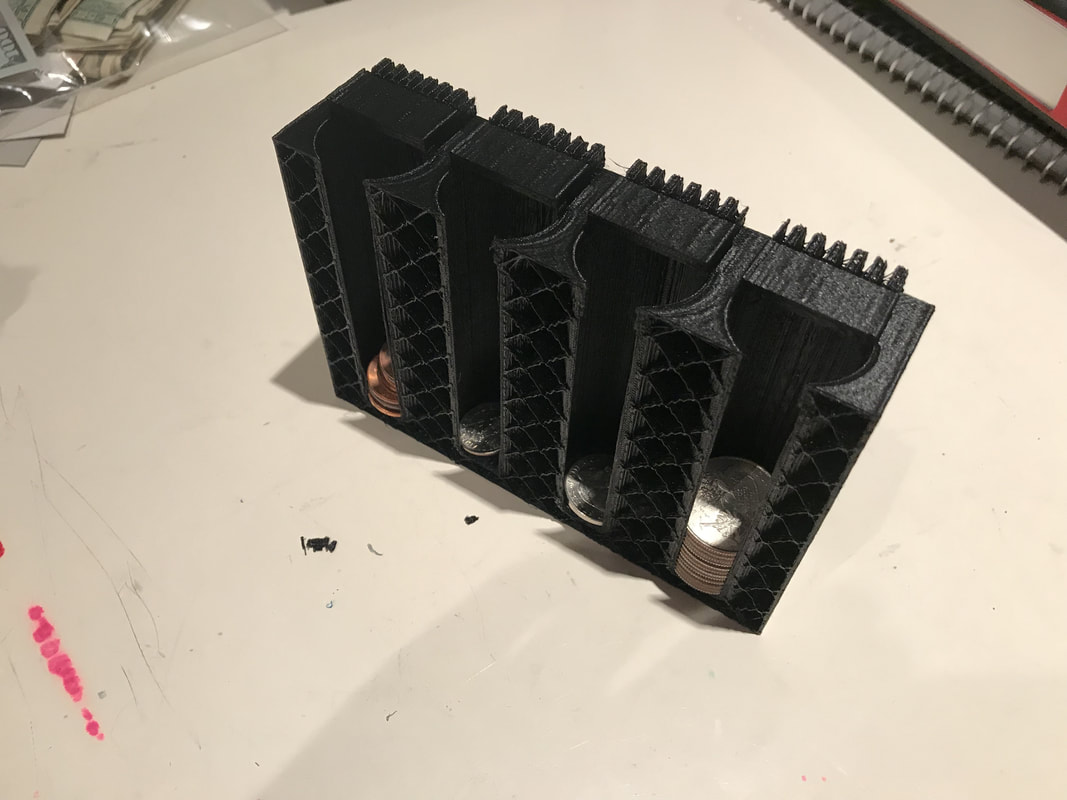
I checked back the next day during passing time to grab my printed Coin Holder. However, Mr. Willauer said that there was a problem with printing (which was not my fault) and the tape or layer on top of the platform had come off causing the printer to mess up. Mr. Willauer said that he had just restarted it and that it should be done tomorrow. The next day I checked in again and this time the Coin Holder had printed out. However upon further examination it looked like the printer had not finished. I would have asked Mr. Willauer to reprint it a 3rd time but I actually liked the coin holder the way it was. Since it was not finished completely you could still see the inside of the coin holder on one side. This actually made it easier to put and take coins out of it and made it more efficient. I took off the rafts and supports and placed some coins in it to see if the coin holder actually worked. It did and I actually liked it better unfinished than my original design. It still held the correct amount of coins and everything it just made it easier to take coins out of it with the one side unfinished.
|
|
Finished Product
Here is what my Coin Holder looked like when it was complete;
|
|
Online files
Here are the online files that I used in my design;

|
|

What I learned
This rotation was very fun and was probably my most favorite rotation. I really liked the 3-D printers and the Inventor software and I thought that they were very easy to use. I learned many different things in this rotation including how to use machines, software, and a few life lessons along the way. In order to make something to print out with a 3-D Printer there are two softwares called Inventor and Makerbot that you have to use. After this rotation I would say that I am very capable of using them without any help where before this rotation I didn't even have any idea on how to use them. In this rotation we also had to use the 3-D Printer. Before this rotation I had never even used a 3-D printer before and now I could use one without any help. This rotation also taught me valuable life skills. One of these was not giving up because when I realized that I had to re-create a coin holder design I was pretty frustrated. However I didn't give up and I was able to complete the rotation on time. I also learned a lesson of if you don't know something just ask. I usually do not like having to get help but in this rotation there were some things that I just couldn't figure out on my own. When I asked Mr. Willauer he was more than happy to help me and I got done way faster than I would have if I didn't ask for help. As you can see this rotation taught me a lot. I learned how to use two different softwares, I learned how to use a 3-D Printer, and I even learned some valuable life lessons along the way. This rotation was probably my favorite because of all the things I learned and because of how fun it was.
