What is Illustrator?
Illustrator is a design software by Adobe that can be used to make a design for many different machines. It is mainly used to create pictures or images to be cut out on to a material. There are many different shapes and options in the software that makes it easy to make any design that you can imagine. This design software is mainly used for the Laser Cutter and the Vinyl Cutter machines. In summary Illustrator is a design software used to make cut out designs for the Laser Cutter or Vinyl Cutter.
Two Different Parts
Since Illustrator can be used for two main machines we will have a project using Illustrator for both machines. For the Laser Cutter we will be making a key chain. For the Vinyl Cutter we will be making a decal of our name and hour for our designer notebooks.
Laser Cut Key Chain
The first project that we did was the laser cut key chain. I would first have to design my key chain on Illustrator. To accomplish this I used the instructions on the resources page to help me through creating my key chain design.
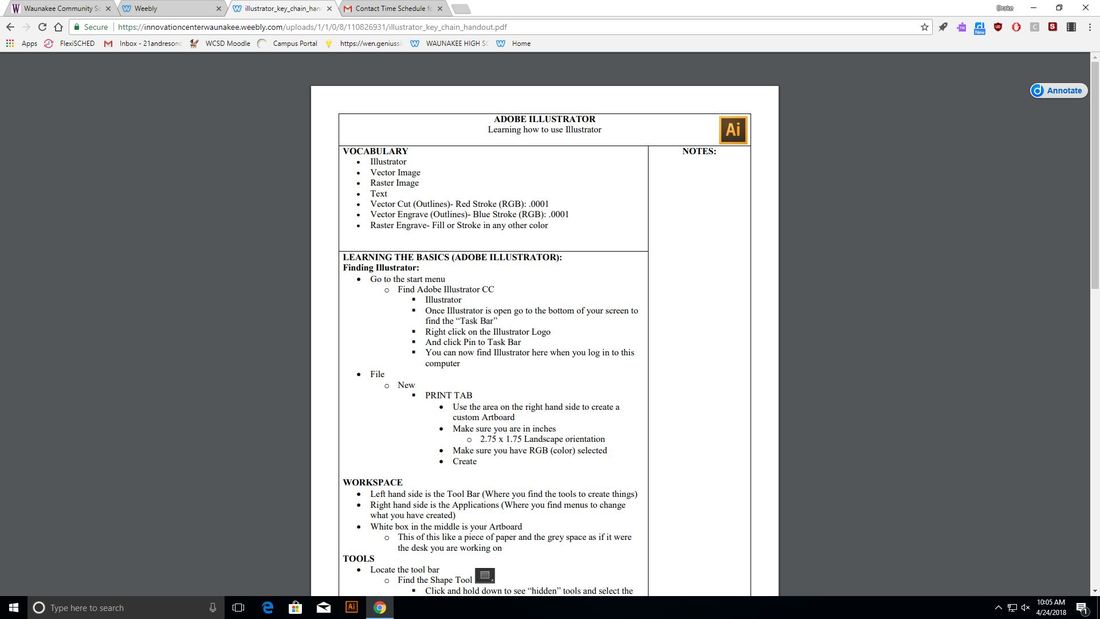
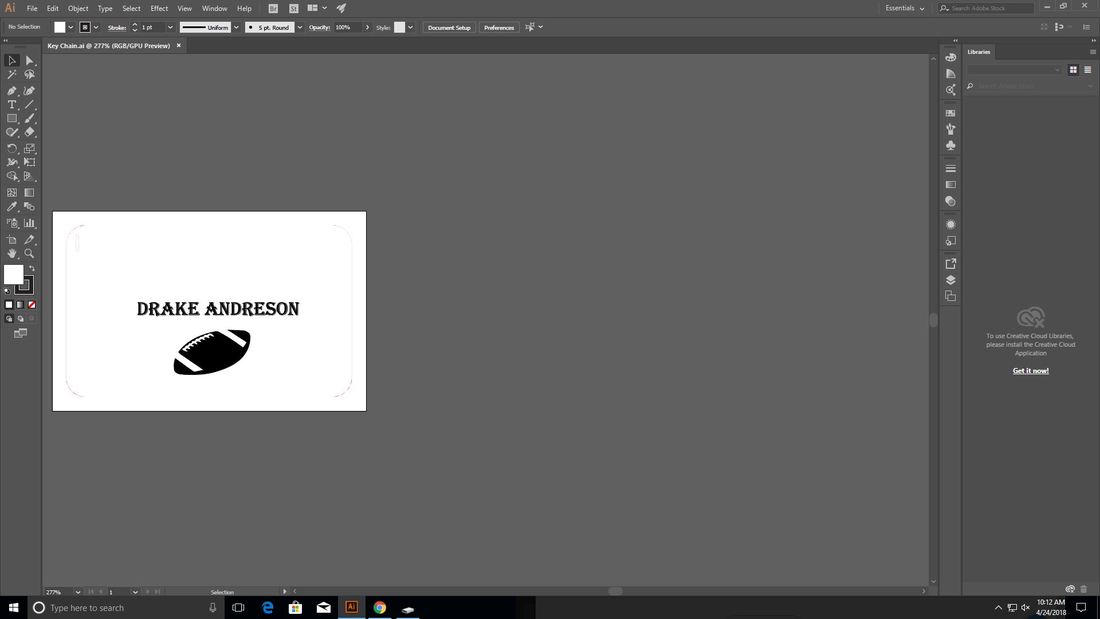
For the key chain I had to have both text and an image. After brainstorming I decided that for the text I would type my name and for the image I would find an image of a football from google. I first started by selecting file and then new. I then made the dimensions of the art board 2.75 by 1.75 inches, like it says on the instructions. After that was done and my art board was all set up I could start making my design. I first would have to draw the outline of my key chain where it would be cut out. I ran my mouse over the rectangle feature and selected the rounded rectangle. Then when the dimensions window popped up I put in 2.5 by 1.5 inches because the max was 1.75 by 2.75 and I didn't want to go over. After the rounded rectangle was on the art board and was the correct size and in the correct spot I would have to make it cut out. I selected on the rectangle outline and then changed the stroke color to red. After that I changed the stroke weight to 0.0001. Next I would have to create a hole on the key chain. I ran my mouse over the shape tool again but this time I selected the ellipse shape. I made the dimensions 3/16 and then made sure that the hole was in the correct spot. I then selected the eclipse shape, made the color red, and changed the stroke weight to 0.0001. Next selected the text button on the left panel. Using that feature I typed my name, and moved the text a little higher from the center of my art board. I then selected my text, selected the font drop down menu, and chose my favorite font. Keeping the text selected I made sure the color was black and the stroke weight was 0.0001. After that I right clicked on my text and selected create outlines. After this was done I had the words all set and up it was time to add an image. I searched on google for football clip art and copied and pasted the image that I found into my art board. I then dragged it right underneath my text. After that I made sure that the color was black and the weight was 0.0001. Next I selected the image trace button at the top of the screen, and then hit expand. After I had done this my key chain Illustrator file was all set up and ready to print. I saved it to my flash drive and went down to the laser cutter. An image of my completed file is shown below.
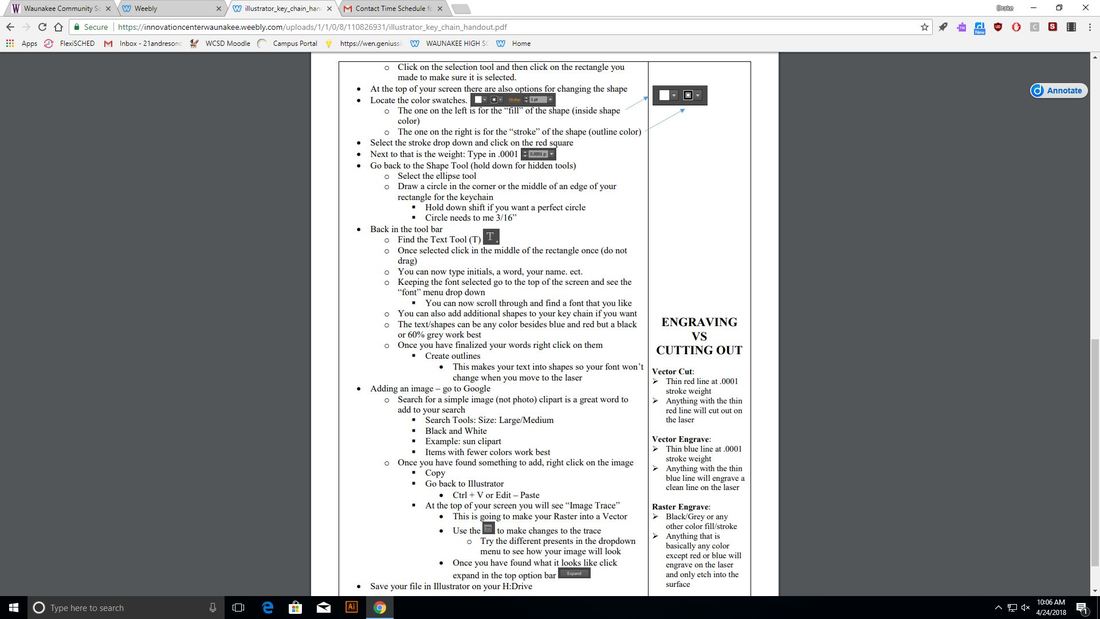
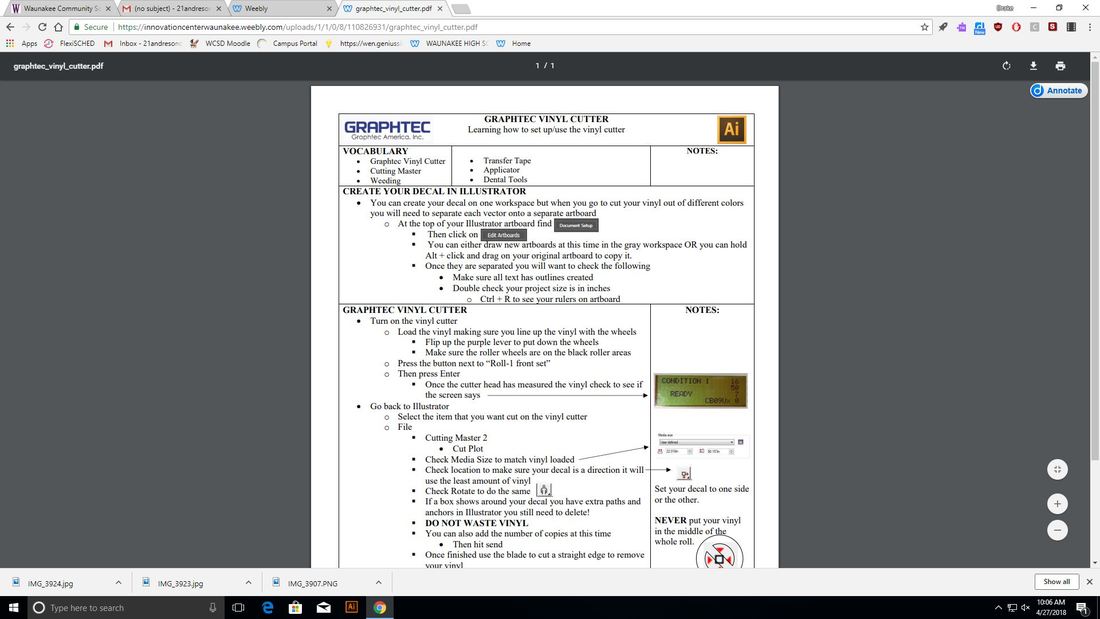
To run the laser I used the instructions pictured below to help me.
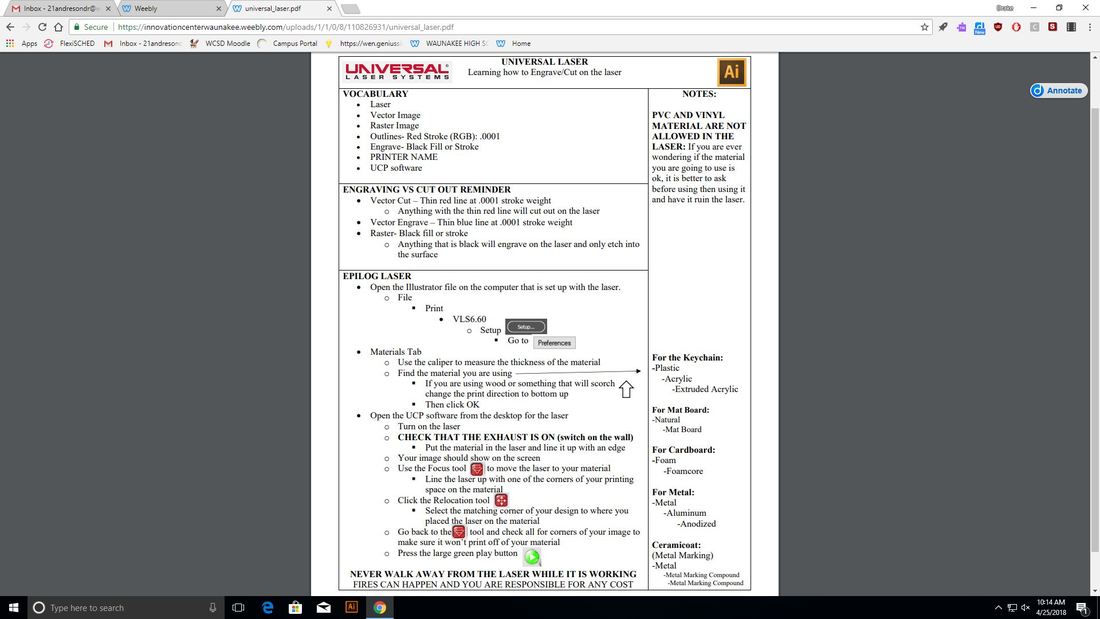
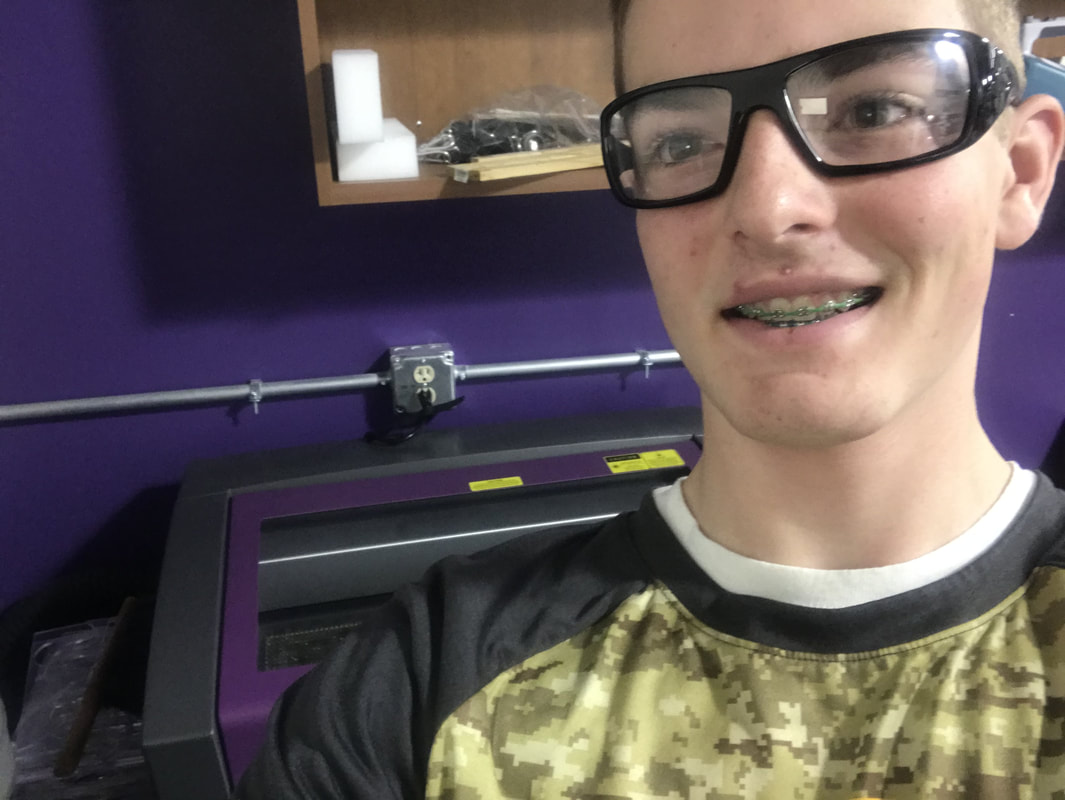
I first made sure that the exhaust was on for the laser cutter. Next I put my flash drive into the computer attached to the laser cutter and opened the file. I then hit file print and selected VLS6.60. Next I would have to change some settings so I hit setup and then preferences. Under the materials tab I selected plastic, then acrylic, then extruded acrylic. I then measured the material with the caliper and put that number under thickness. After this I hit OK, and then print. Next I opened up the UCP software on the computer, and turned on the laser. When I opened the UCP software my file for the key chain was their because I had moved it from the file to the UCP software in the previous steps. Next I grabbed my material, in this case for the key chain it was plastic, and lined it up with a side in the laser bed. After this I used the focus tool to move the laser over to one of the corners of my material. Once I did that I hit the relocation tool and selected the corresponding corner that I had just moved the laser to. Next I selected the focus tool again and made sure that my key chain would fit on to the material. Once this was done I was ready to start. I made sure the cover was closed, I made sure the exhaust was on on, and I hit the big green play button. It was very cool and almost mesmorizing to watch the laser cut out my key chain. I watched it until It was finished. Here is a picture of my key chain being cut out, as well as me with the laser cutter.
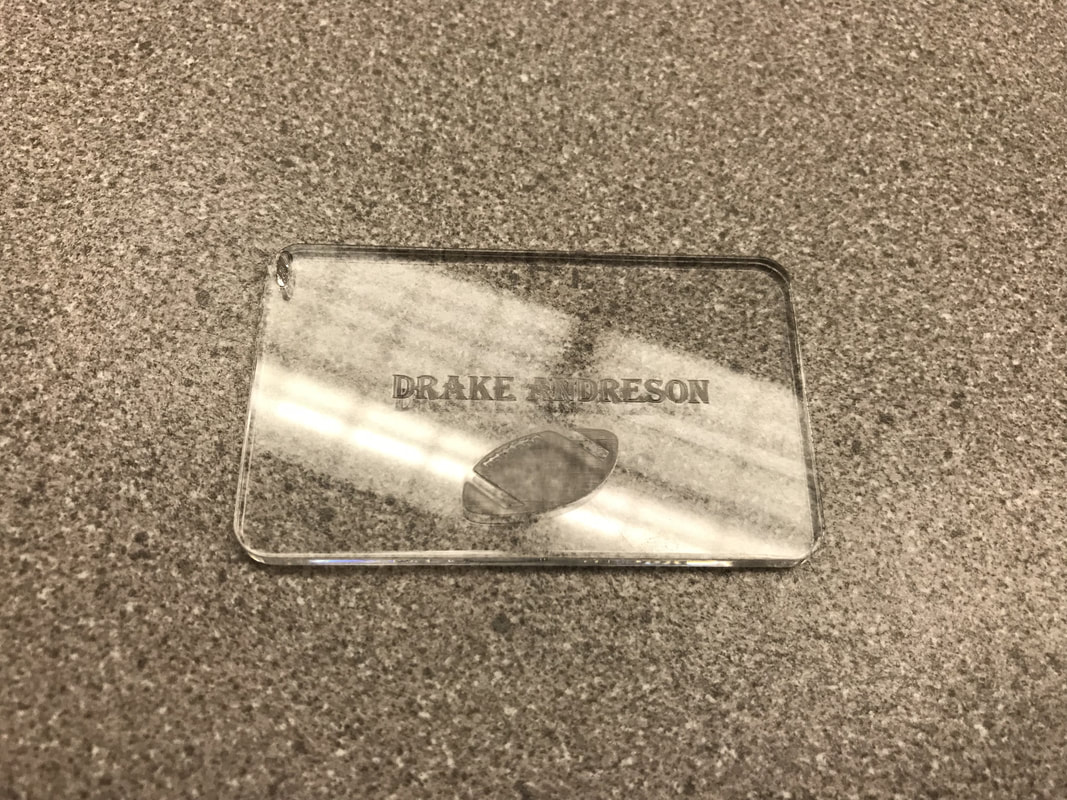
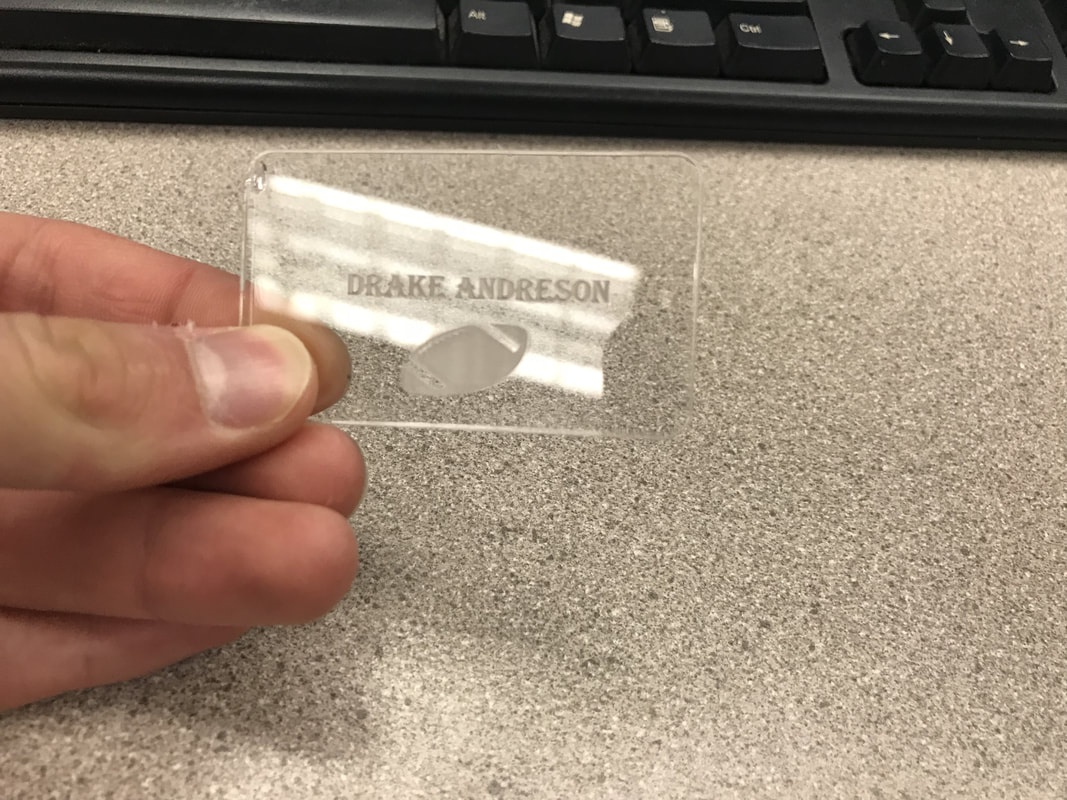
I watched the entire time and I was really amazed at what the laser cutter was capable of. It barely took any time at all and my key chain was cut out. Here is a picture of my finished key chain.
Vinyl Cutter Name and Hour Decal For Notebook.
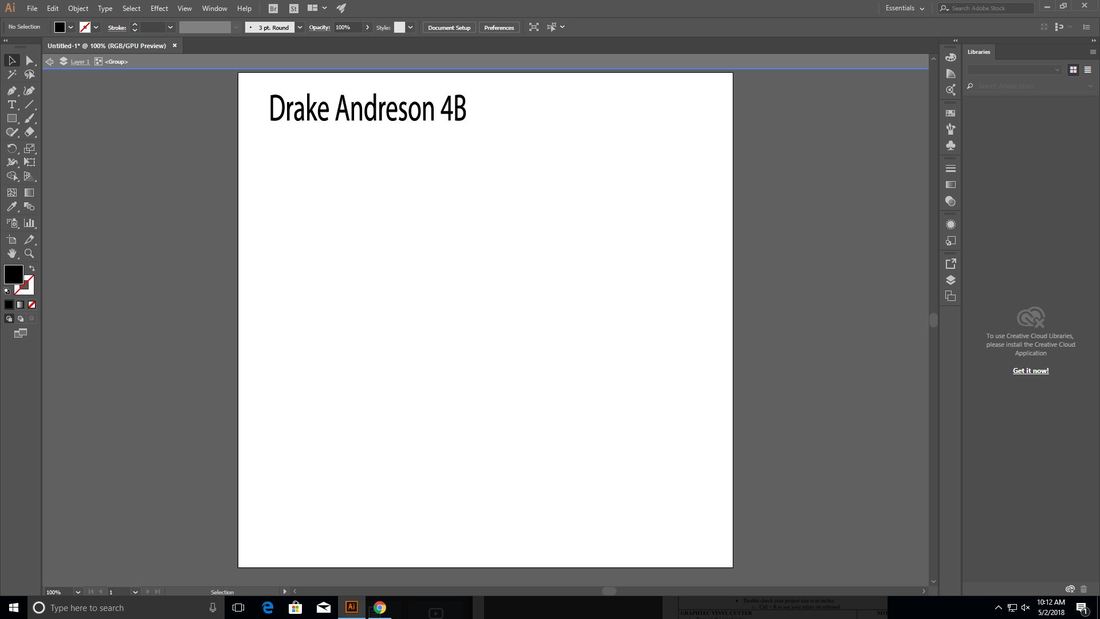
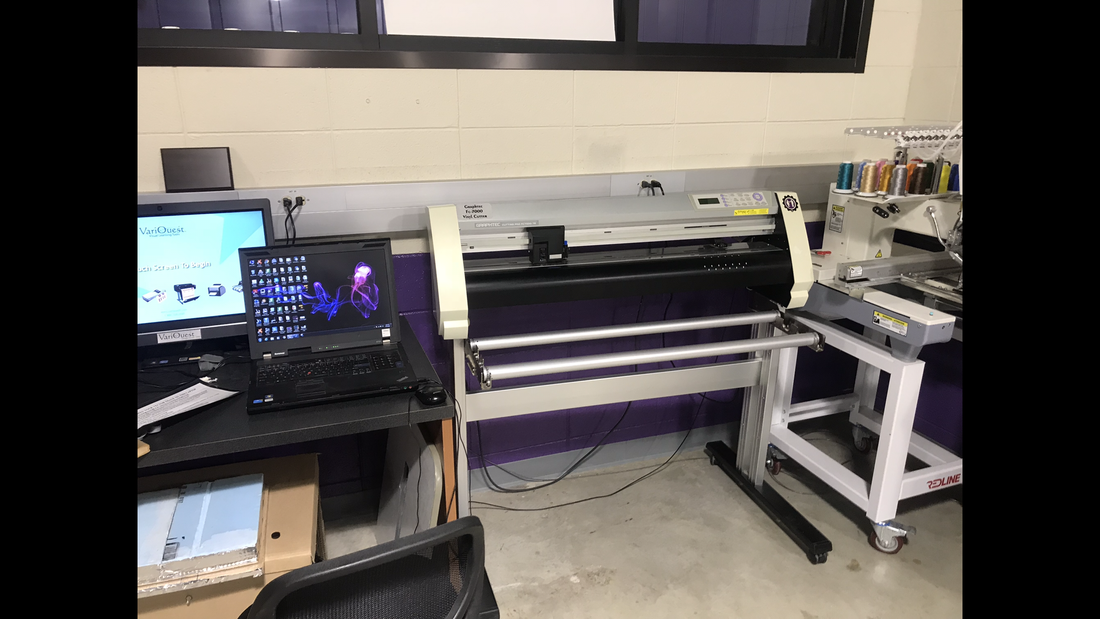
The second part of the illustrator we would use the Vinyl Cutter. Since we already made a design for our key chain Mr. Willauer decided that we knew how to use illustrator so he focused on teaching us how to use the vinyl cutter machine rather than focusing on the design. For this we were going to make vinyl decals of our name and hour to put on our designer notebooks. Mr. Willauer set up an illustrator file on the computer attached to the vinyl cutter. He then had us all put in our names and hour onto one art board. Next he created outlines on the text and we were ready to cut our design. He followed the instructions picture below to set up the vinyl cutter.

Even though Mr. Willauer created the actual Illustrator file used to cut out our vinyl decals, I made the one below as a visual to what it looked like on Illustrator.
He first started by choosing the purple colored vinyl. He then turned on the vinyl cutter and loaded the vinyl onto the role. Next he lined up the vinyl with the wheels and made sure that the rollers were in the black areas. Then he flipped up the purple lever to put the wheels down. Next he selected the button next to Roll-1 front set, and then hit enter. The vinyl cutter than measured and when it was finished it said ready on the screen. After the machine was all set up Mr. Willauer went back to the Illustrator file that he had created. He then hit file, selected cutting master 2, and then hit cut plot. Next he checked the media size and made sure it matched the vinyl that was loaded. He also checked the location to make sure that the decal would use the least amount of vinyl possible. After all of this Mr. Willauer hit the send button. The Vinyl cutter then did its job and proceeded to cut out the design. After it was finished Mr. Willauer cut of the peice of vinyl where the design had been cut on to. He then cut around each of our individual name and hour designs and handed them to us. Now we would have to weed out the excess vinyl and stick it on to our notebooks.
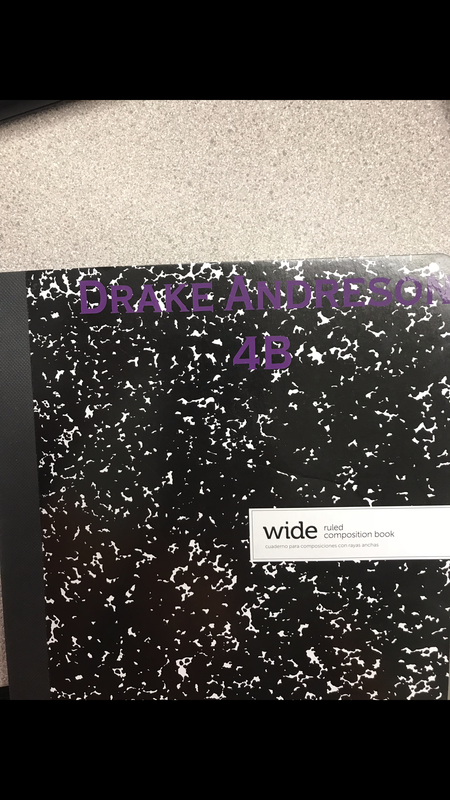
Mr. Willauer demonstrated how to weed out our design by having us follow along as he did his. We first would pull off the excess vinyl making sure that the actual design stayed on with the pick tool. Next we grabbed the masking tape and stuck the tape on to the Vinyl design pressing it down with the squeegee. Next we pulled up the tape making sure this time that the design was sticking to the tape with the pick tool. After the design was on the tape we could now place it onto our notebooks. We moved the tape and design over the place where we wanted to apply the design to on our notebooks. Next we pressed it down onto the notebook making sure it was on by rubbing it with the squeegee. Then we pulled off the tape which left the vinyl design on our notebooks. After this our vinyl decal of our name and hour for our designer notebooks was complete. A picture of the finished product is pictured below.
What I learned
This Illustrator rotation was very helpful for me in understanding both Illustrator and the machines that can run off of it. By having to create different things on Illustrator I learned basically all there is too it. I now feel very comfortable in using Illustrator without any help from instructions or Mr. Willuaer. Along with learning how to use Illustrator I was also able to learn how to use two different machines in the Innovation Center, the laser cutter and the vinyl cutter. By having to create a different thing on each machine I got a better understanding on how each of these two machines worked. Also by my understanding of Illustrator I was able to understand the machines and vice versa. All in all this was a very helpful rotation and I learned a lot about both software and machines.
